fine motor

Holiday Box Craft

This time of year we love incorporating holiday themed activities into fine motor work. See below for this fun popsicle stick box craft where you can choose to make either a Christmas tree or Hanukkah Menorah! Pushing the popsicle sticks into the corresponding slots is a great way for kids to work on fine motor strength and precision.

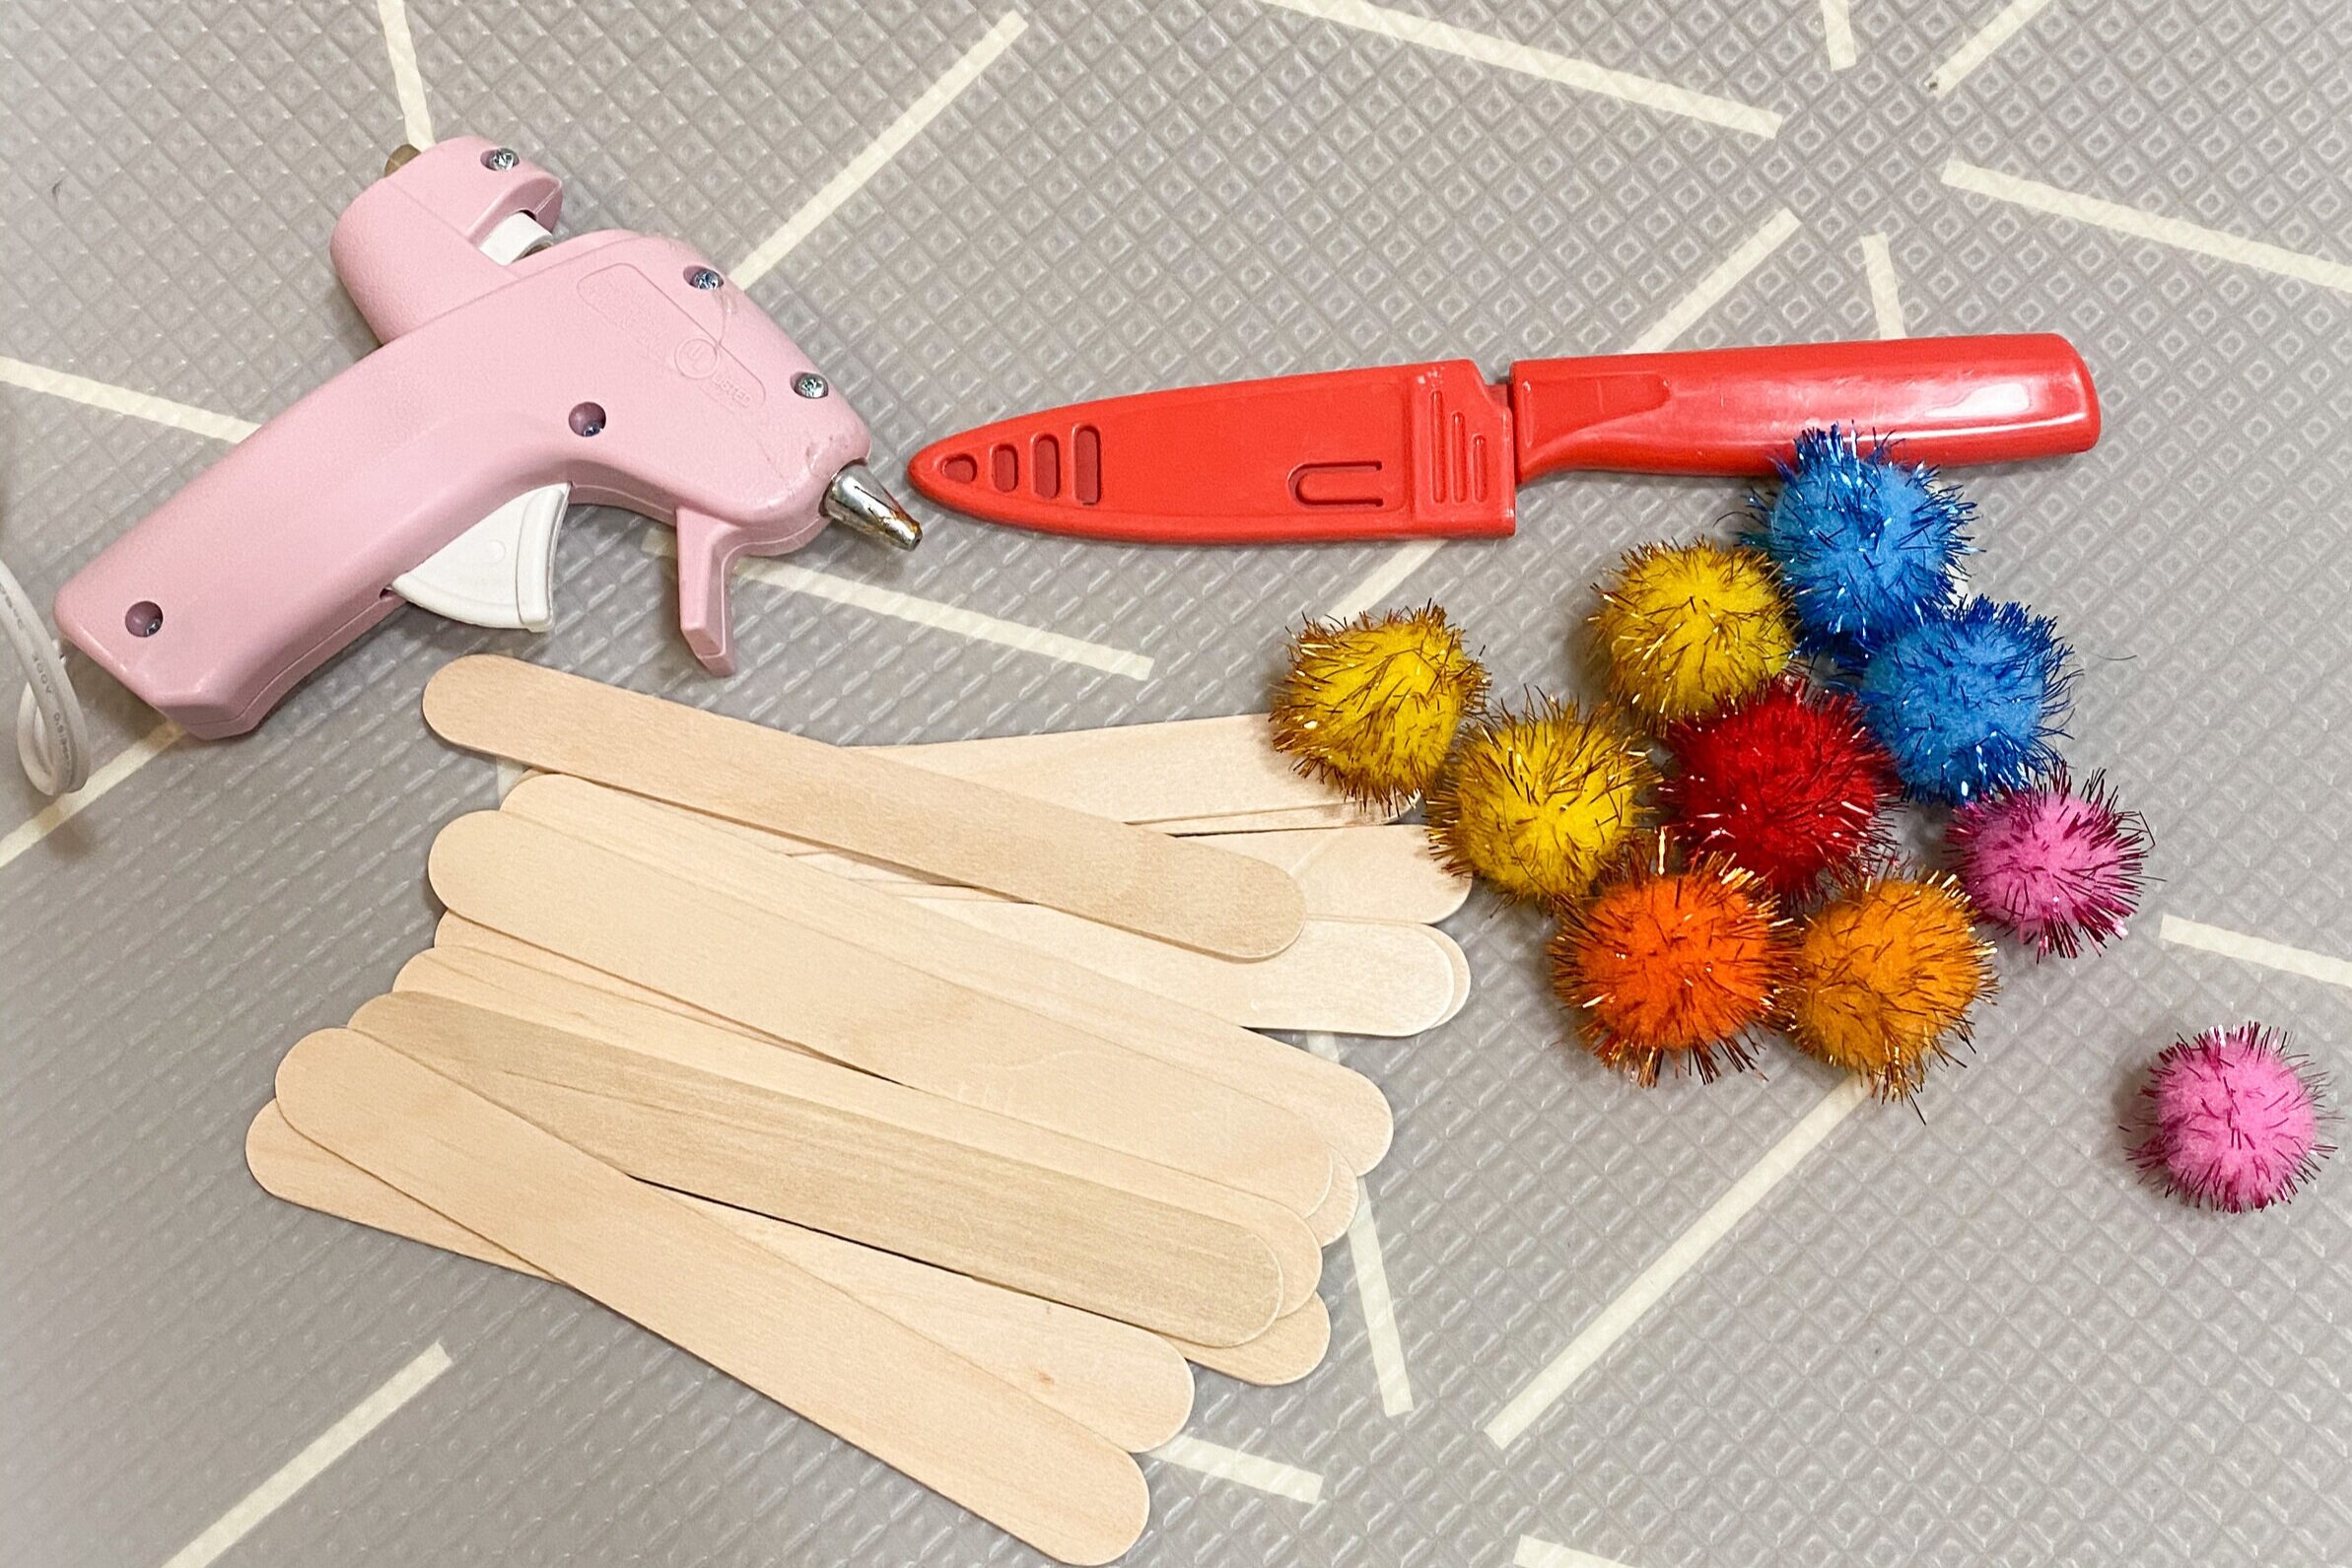
Materials Needed:

 
IMG_3857.jpg
 

Step 1: Tape your box closed using clear packing tape. We added yellow painters tape around sides for extra color, but this step is optional.

Step 2: Tape FREE Holiday Box Printable sheet of choice to the top of the box covering with clear painters tape.

Step 3: Using hot glue, glue a pom-pom to the top of each popsicle stick. To help with this we used the knife to make a small cut in the bottom of the pom-pom (but be careful not to cut too deep or the pom-pom will unravel).

 
IMG_3855.jpg
 

Step 4: Using knife cut small slit into picture and through the box in desired area (either on top of ornaments or where the candle flame will be).

IMG_3852.jpg
IMG_3850.jpg

Step 5: Have fun!! Work on putting popsicle sticks into slots to complete the picture. Such a fun way to challenge fine motor strength.

IMG_3851.jpg
IMG_3854.jpg

Feed The Ghosts

We are huge fans of themed therapy activities for Halloween, and this ghost feeding one is so fun to get the kids involved in. This activity can help strengthen pincer grasp and finger isolation. You can also add clothes pins, tweezers, or tongs to pick up the pom-poms for grip strength. You even have the option to turn this into a color recognition game.

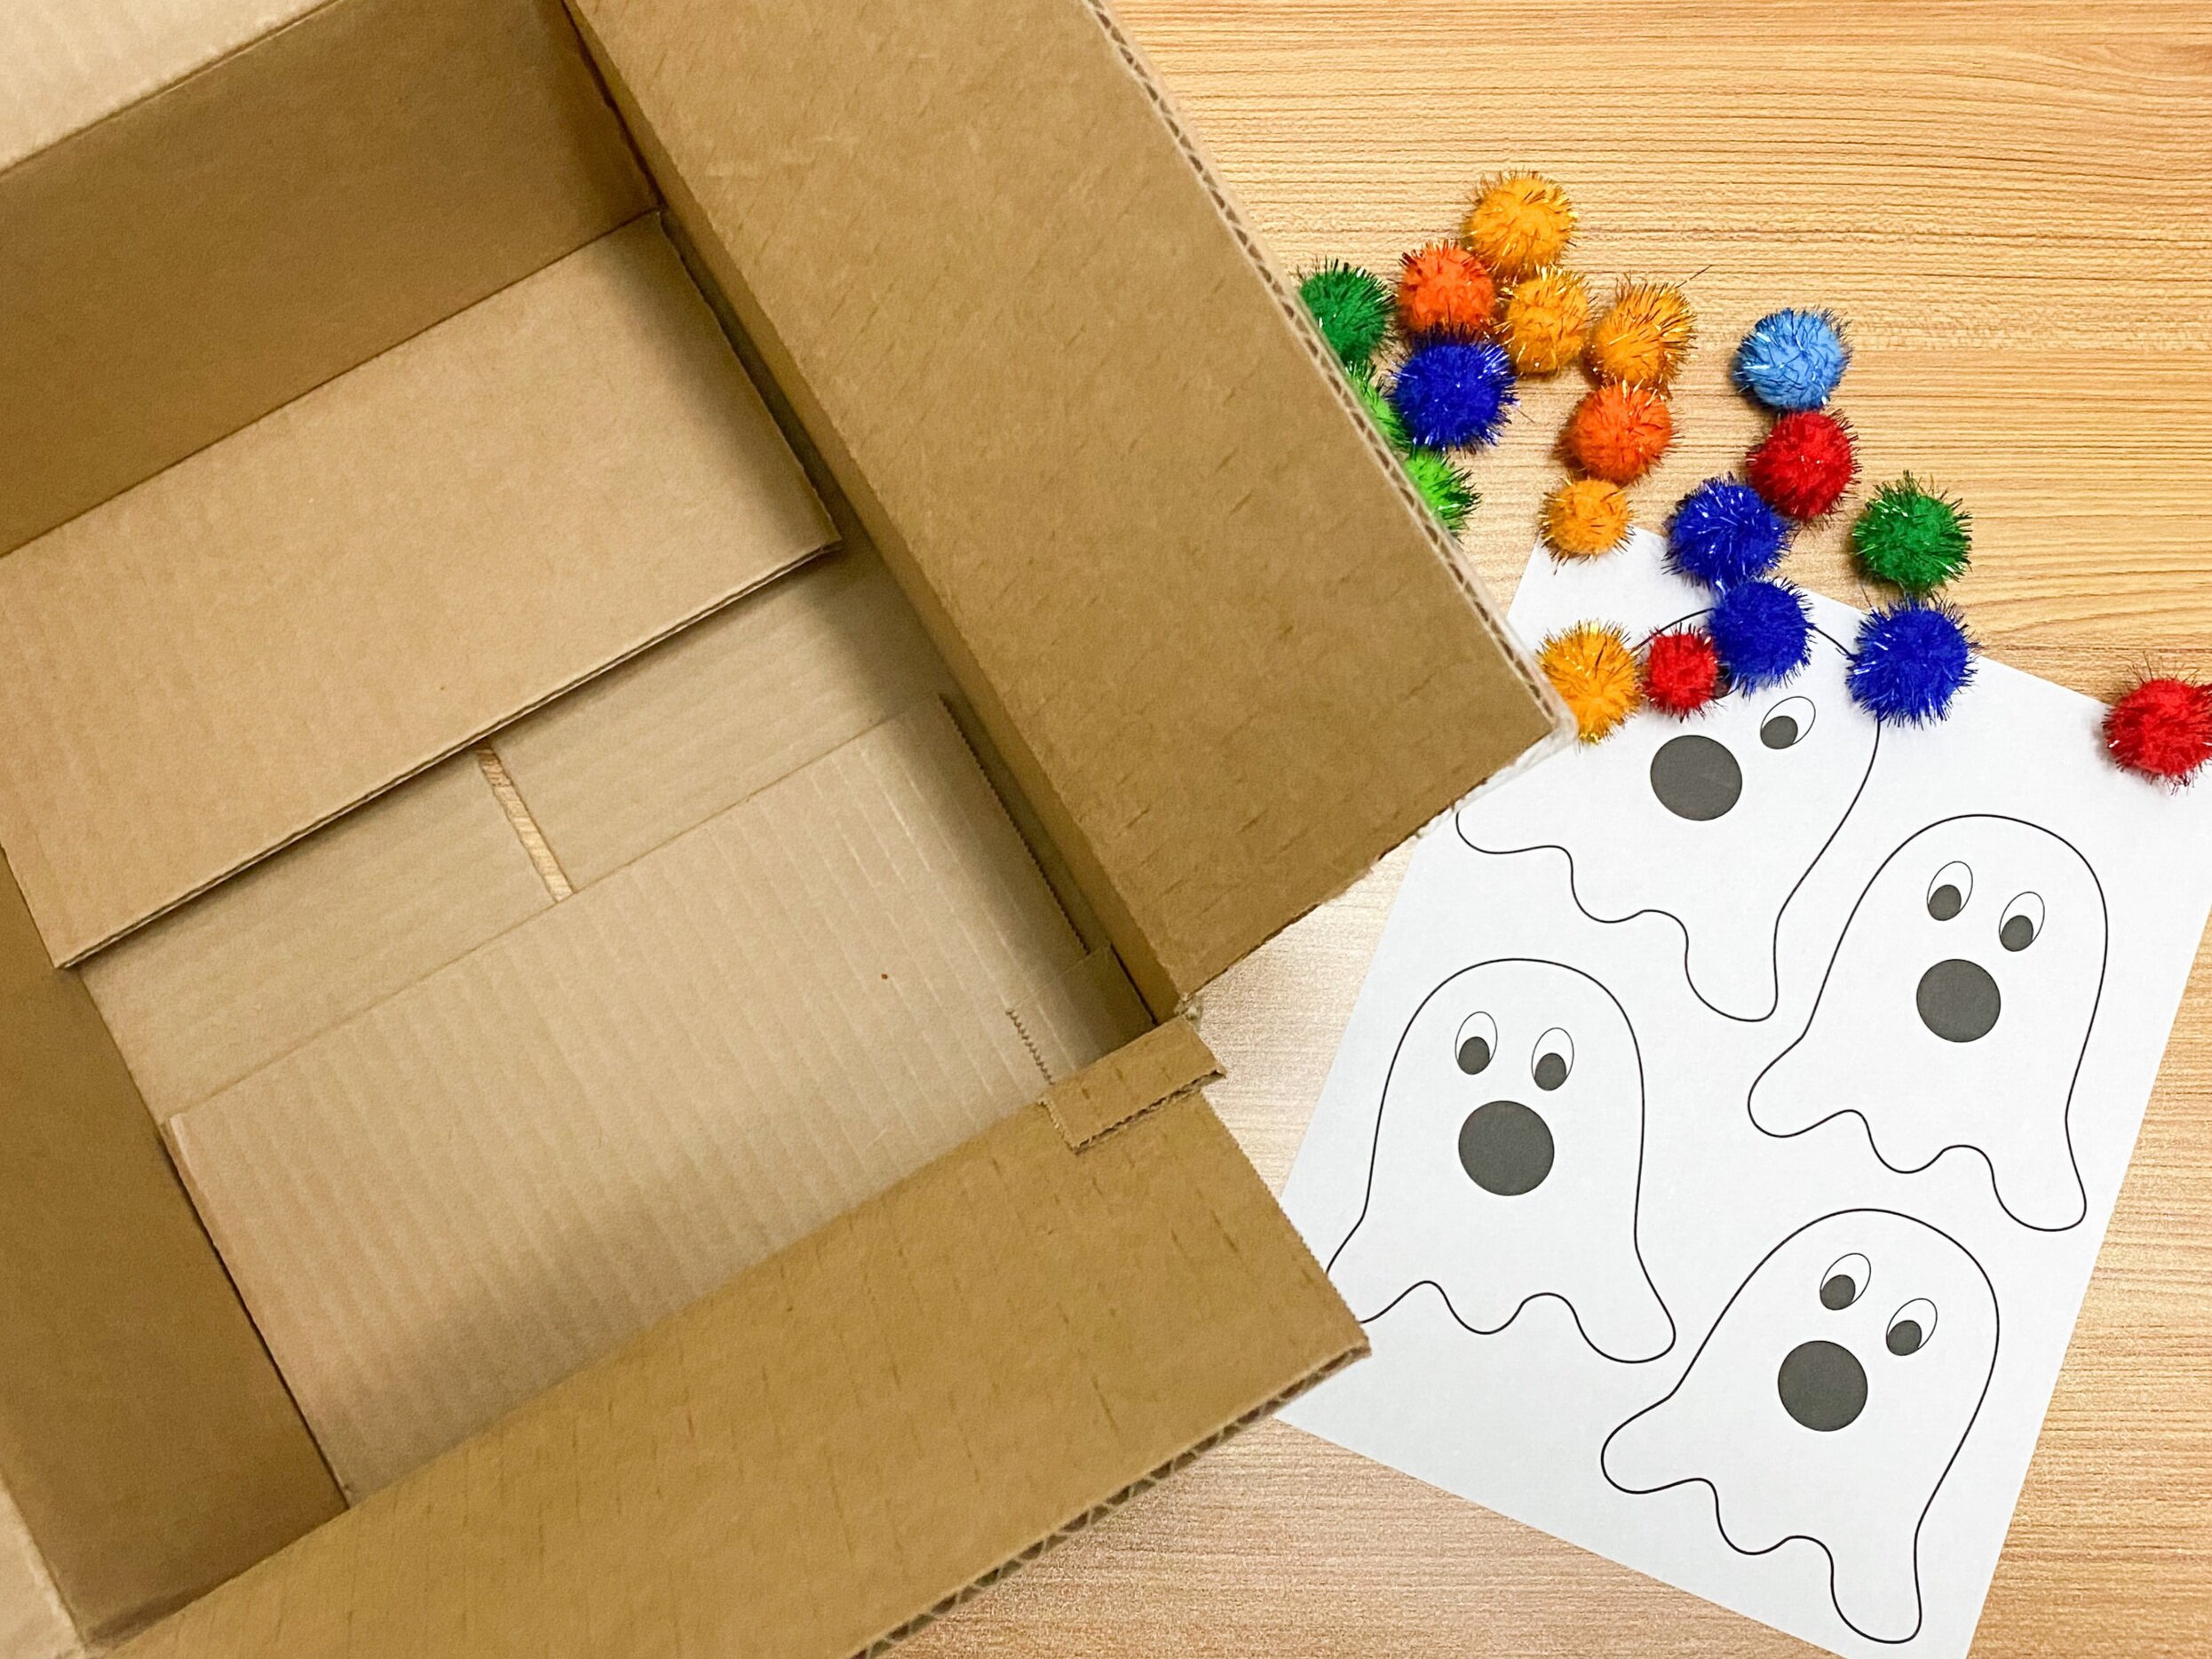
Materials Needed:

  • Box (We used a recycled amazon box), but a shoe box would also work

  • Ghost Printable (Click here to download for free)

  • Box Cutter

  • Scissors

  • Tape

  • Pom-Poms or Cotton Balls

  • Markers/Crayons (optional)

 
IMG_3443.JPG
 

Step 1: Print Halloween ghost printable for free! Using scissors cut out the mouths of all the ghosts.

 
IMG_3445.jpg
 

Step 2: Tape one side of box closed to make a flat top. You will want to leave bottom open so you are able to get pom-poms out. Place ghost paper on top of box and trace where the holes will be. Using box cutter, carefully cut holes into the box.

Step 3: Tape the ghost paper on top of the box so that the mouths line up with the holes. Have your child work to pick up pom-poms or cotton balls and feed the ghosts by pushing them into the box.

*Therapy tip: Try making the holes in the box a bit smaller than your pom-poms so that your child has to isolate their index finger to push it inside the box.

IMG_3446.JPG
IMG_3449.JPG

Step 4: As an optional extra step have your child color the ghosts to match pom-poms. Then they can practice feeding the ghosts matching colored food! So “Boo-tiful”

IMG_3450.JPG