This time of year we love incorporating holiday themed activities into fine motor work. See below for this fun popsicle stick box craft where you can choose to make either a Christmas tree or Hanukkah Menorah! Pushing the popsicle sticks into the corresponding slots is a great way for kids to work on fine motor strength and precision.
Materials Needed:
Recycled Box (big enough for a sheet of computer paper)
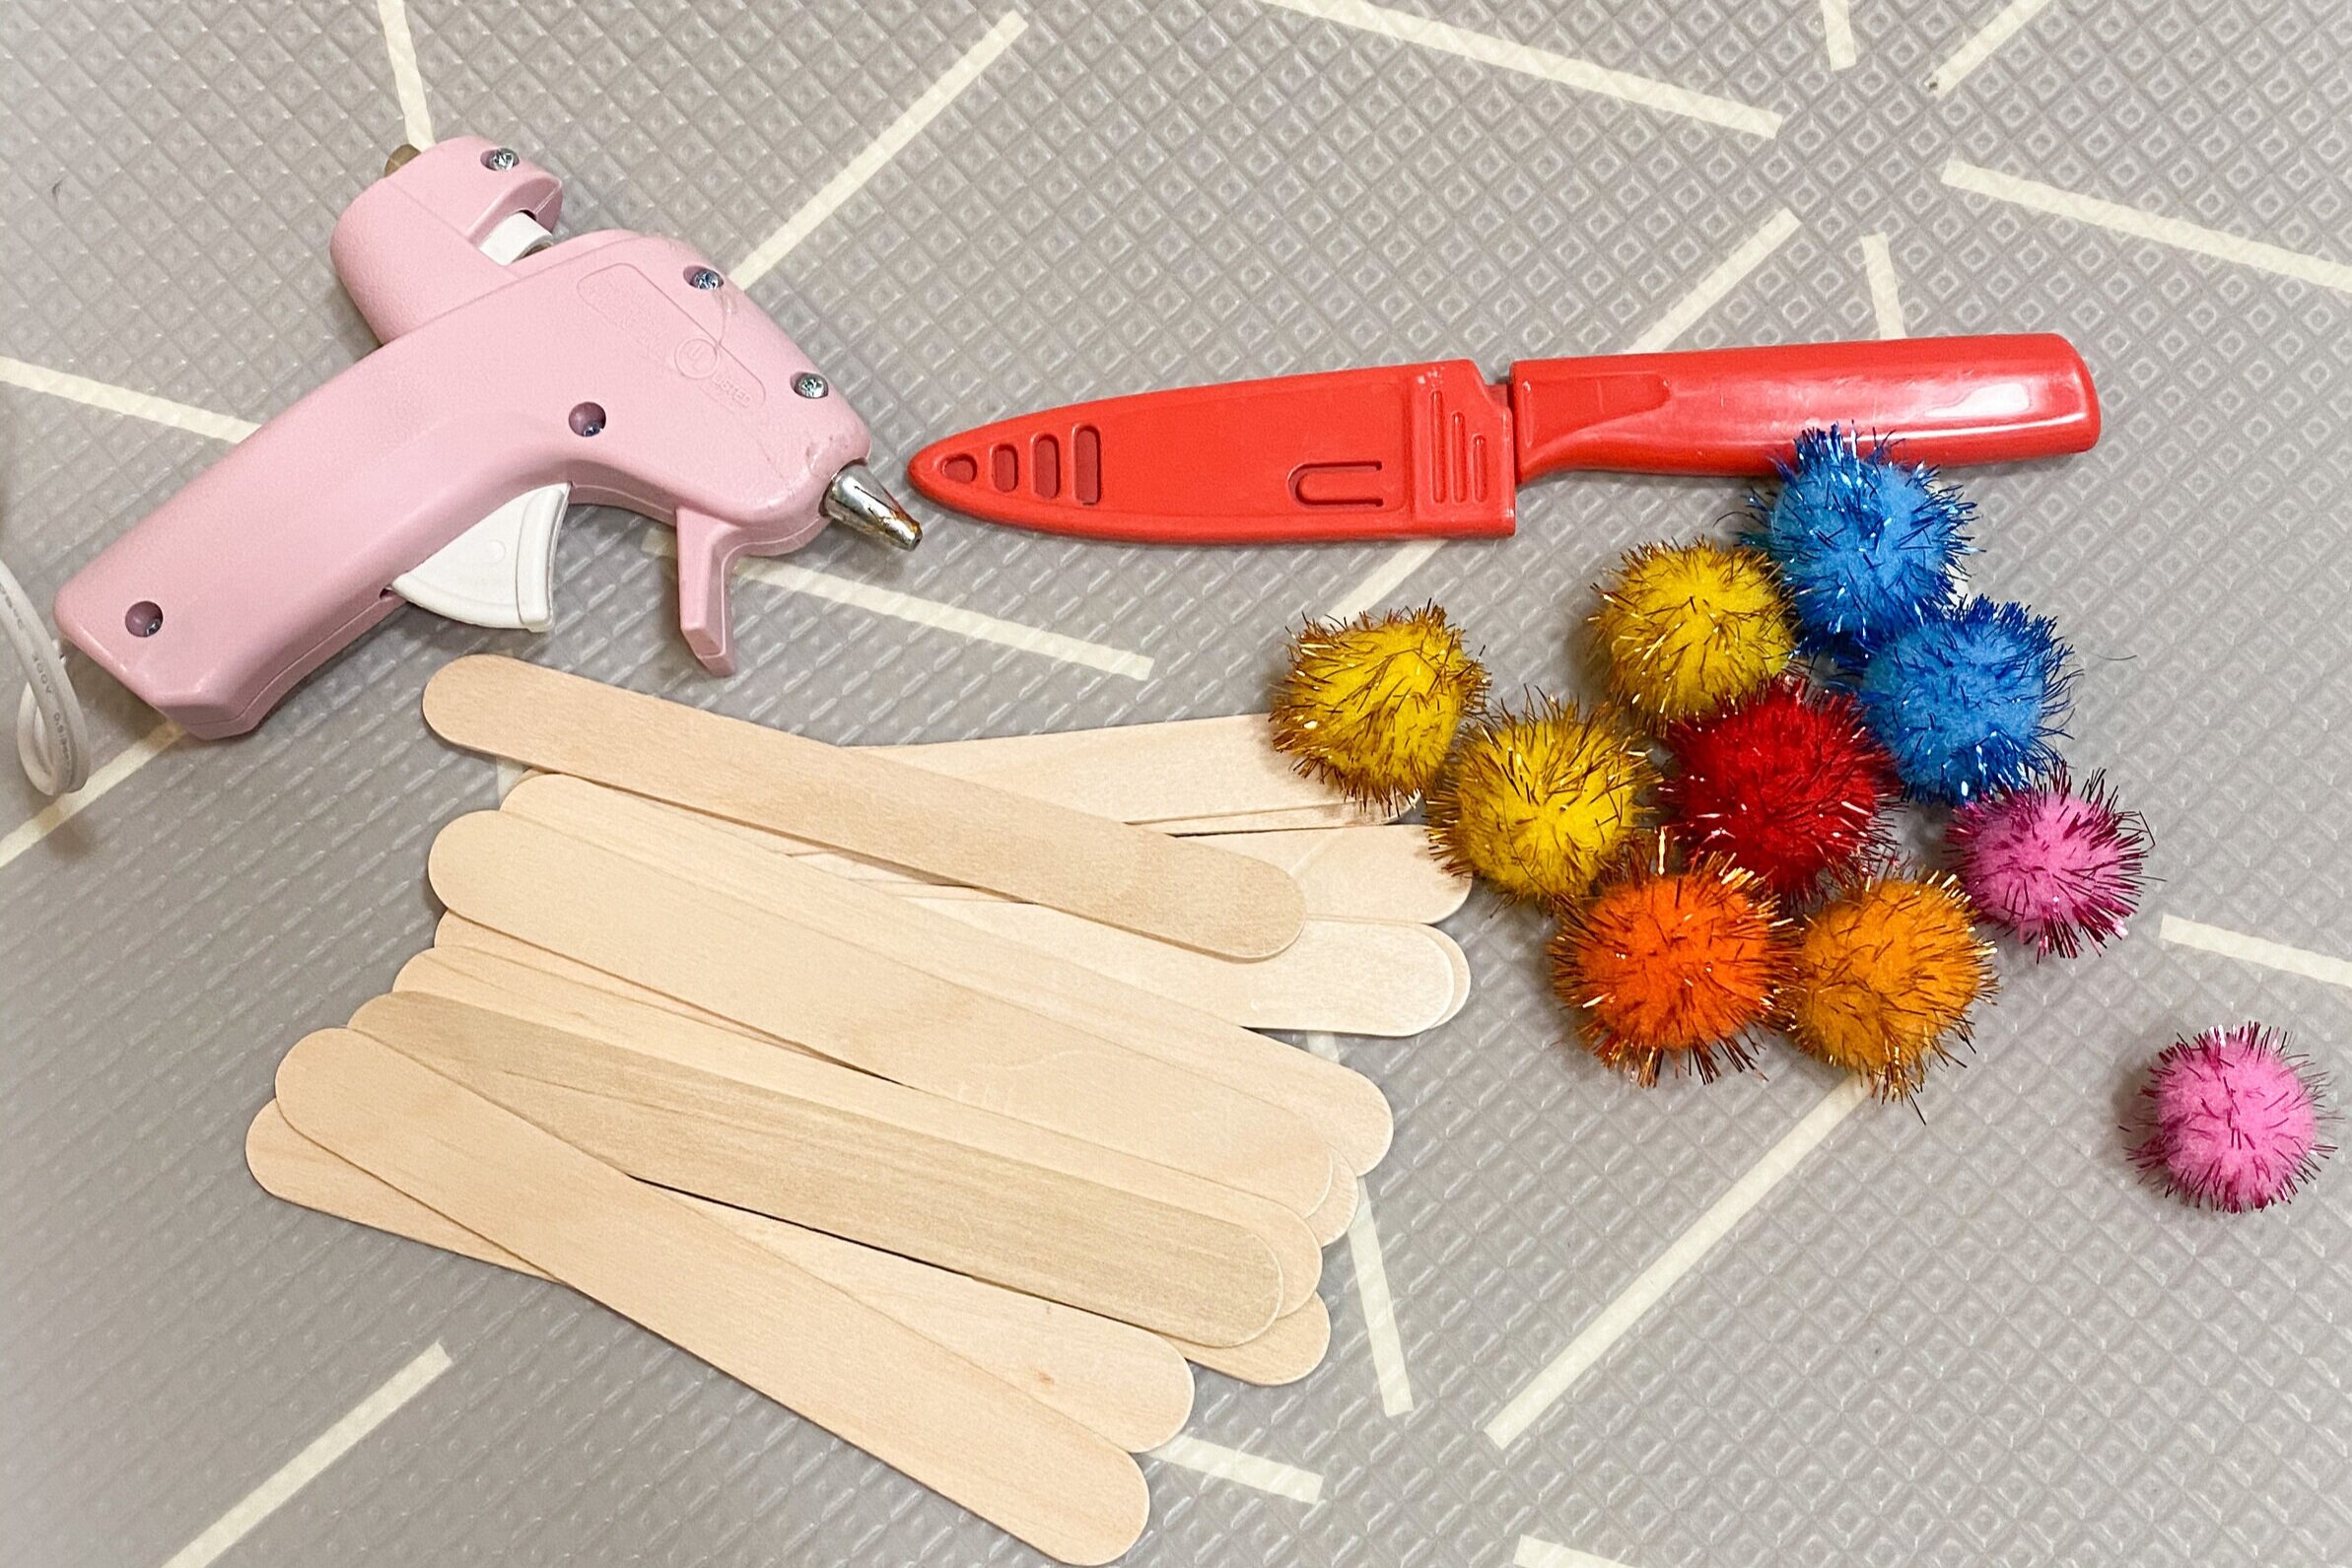
Knife
Clear Packing Tape
Popsicle Sticks
Hot Glue
Pom-Poms
Step 1: Tape your box closed using clear packing tape. We added yellow painters tape around sides for extra color, but this step is optional.
Step 2: Tape FREE Holiday Box Printable sheet of choice to the top of the box covering with clear painters tape.
Step 3: Using hot glue, glue a pom-pom to the top of each popsicle stick. To help with this we used the knife to make a small cut in the bottom of the pom-pom (but be careful not to cut too deep or the pom-pom will unravel).

Step 4: Using knife cut small slit into picture and through the box in desired area (either on top of ornaments or where the candle flame will be).


Step 5: Have fun!! Work on putting popsicle sticks into slots to complete the picture. Such a fun way to challenge fine motor strength.