Upseat Review

As pediatric therapists we are always in favor of promoting the most time out of baby containers as possible for optimal gross motor development. However, as a fellow mom….sometimes you need a change of pace in activity to break up the day! The best rule of thumb with any container is always supervised and in moderation (we aim for no more than 15 minutes at a time). Upright floor sitters can be a great tool to use for supported upright sitting, but if you are going to get a floor seat why not choose one that promotes optimal postural positioning.

I must admit, I was anti-floor chairs before becoming a mom, but when I had the opportunity to trial the Upseat I was so happy I did. The Upseat was designed with consultation from multiple pediatric physical therapists. It is made with an inclined seat that promotes an anterior pelvic tilt, which helps promote upright posture and prevent a rounded spine during sitting. Upright posture during sitting play helps free the arms and encourage more functional arm movement. The seat is also designed with nice lateral supports and a high back that prevent baby from slouching and promote midline posture. The leg positioning encourages optimal hip position to increase hip socket development and discourage hip dysplasia.

Image from theupseat.com

Image from theupseat.com

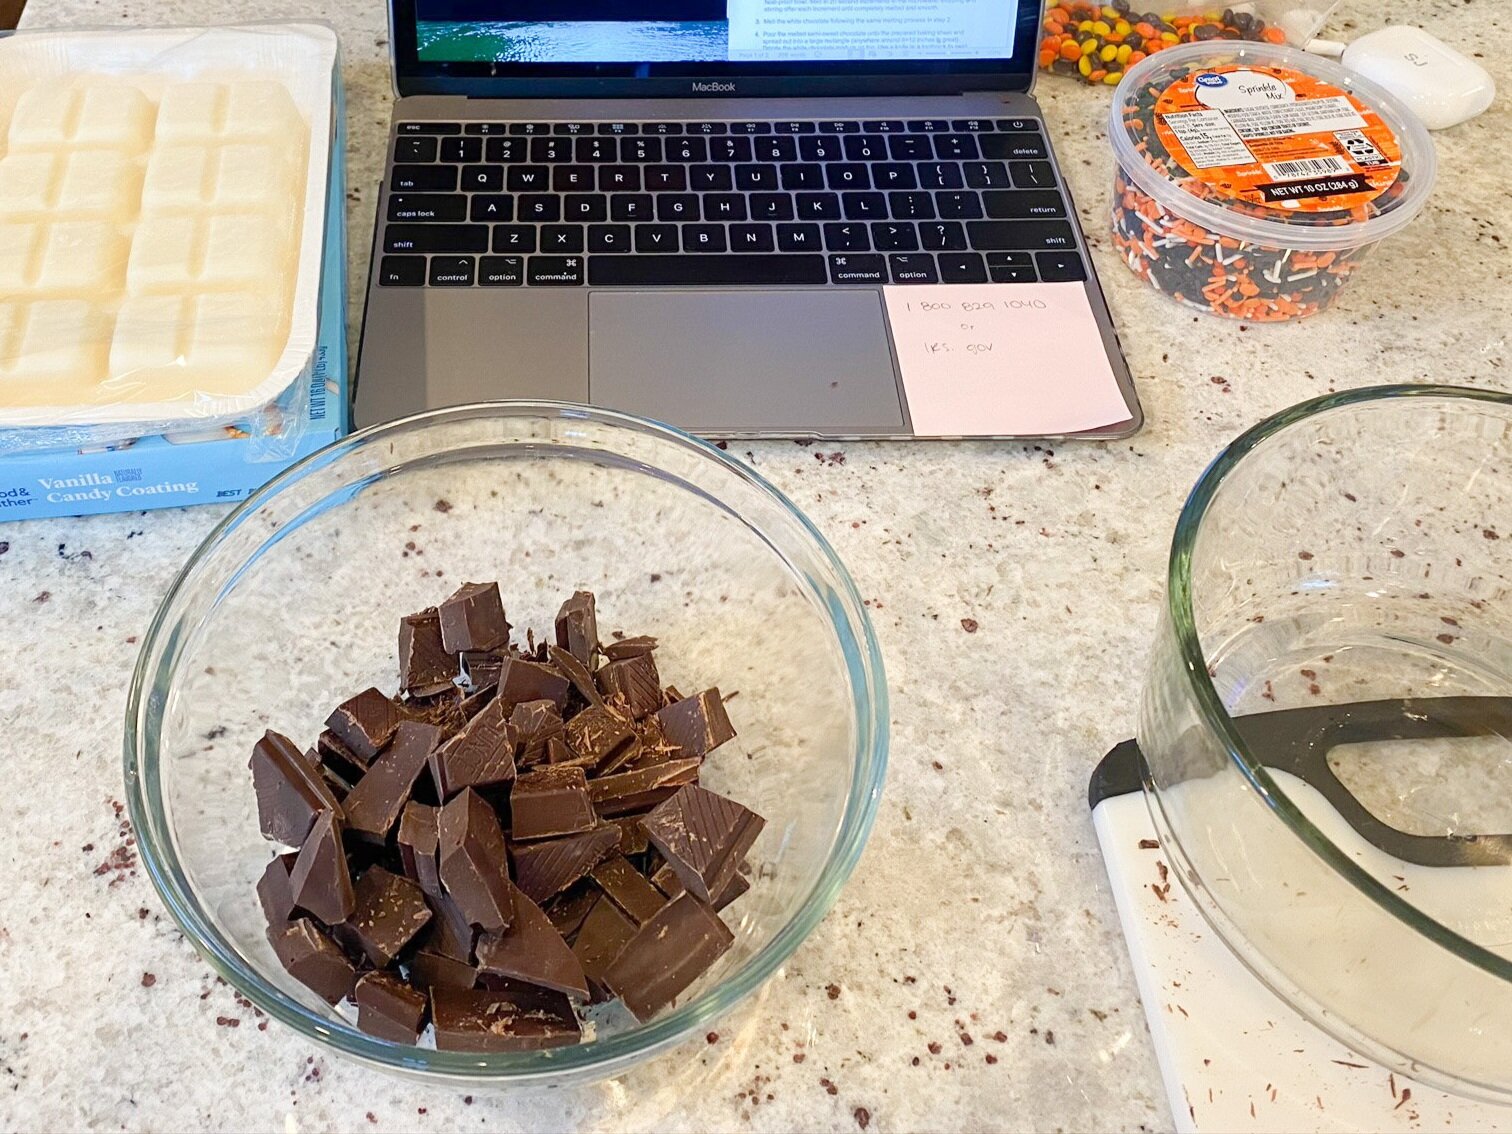
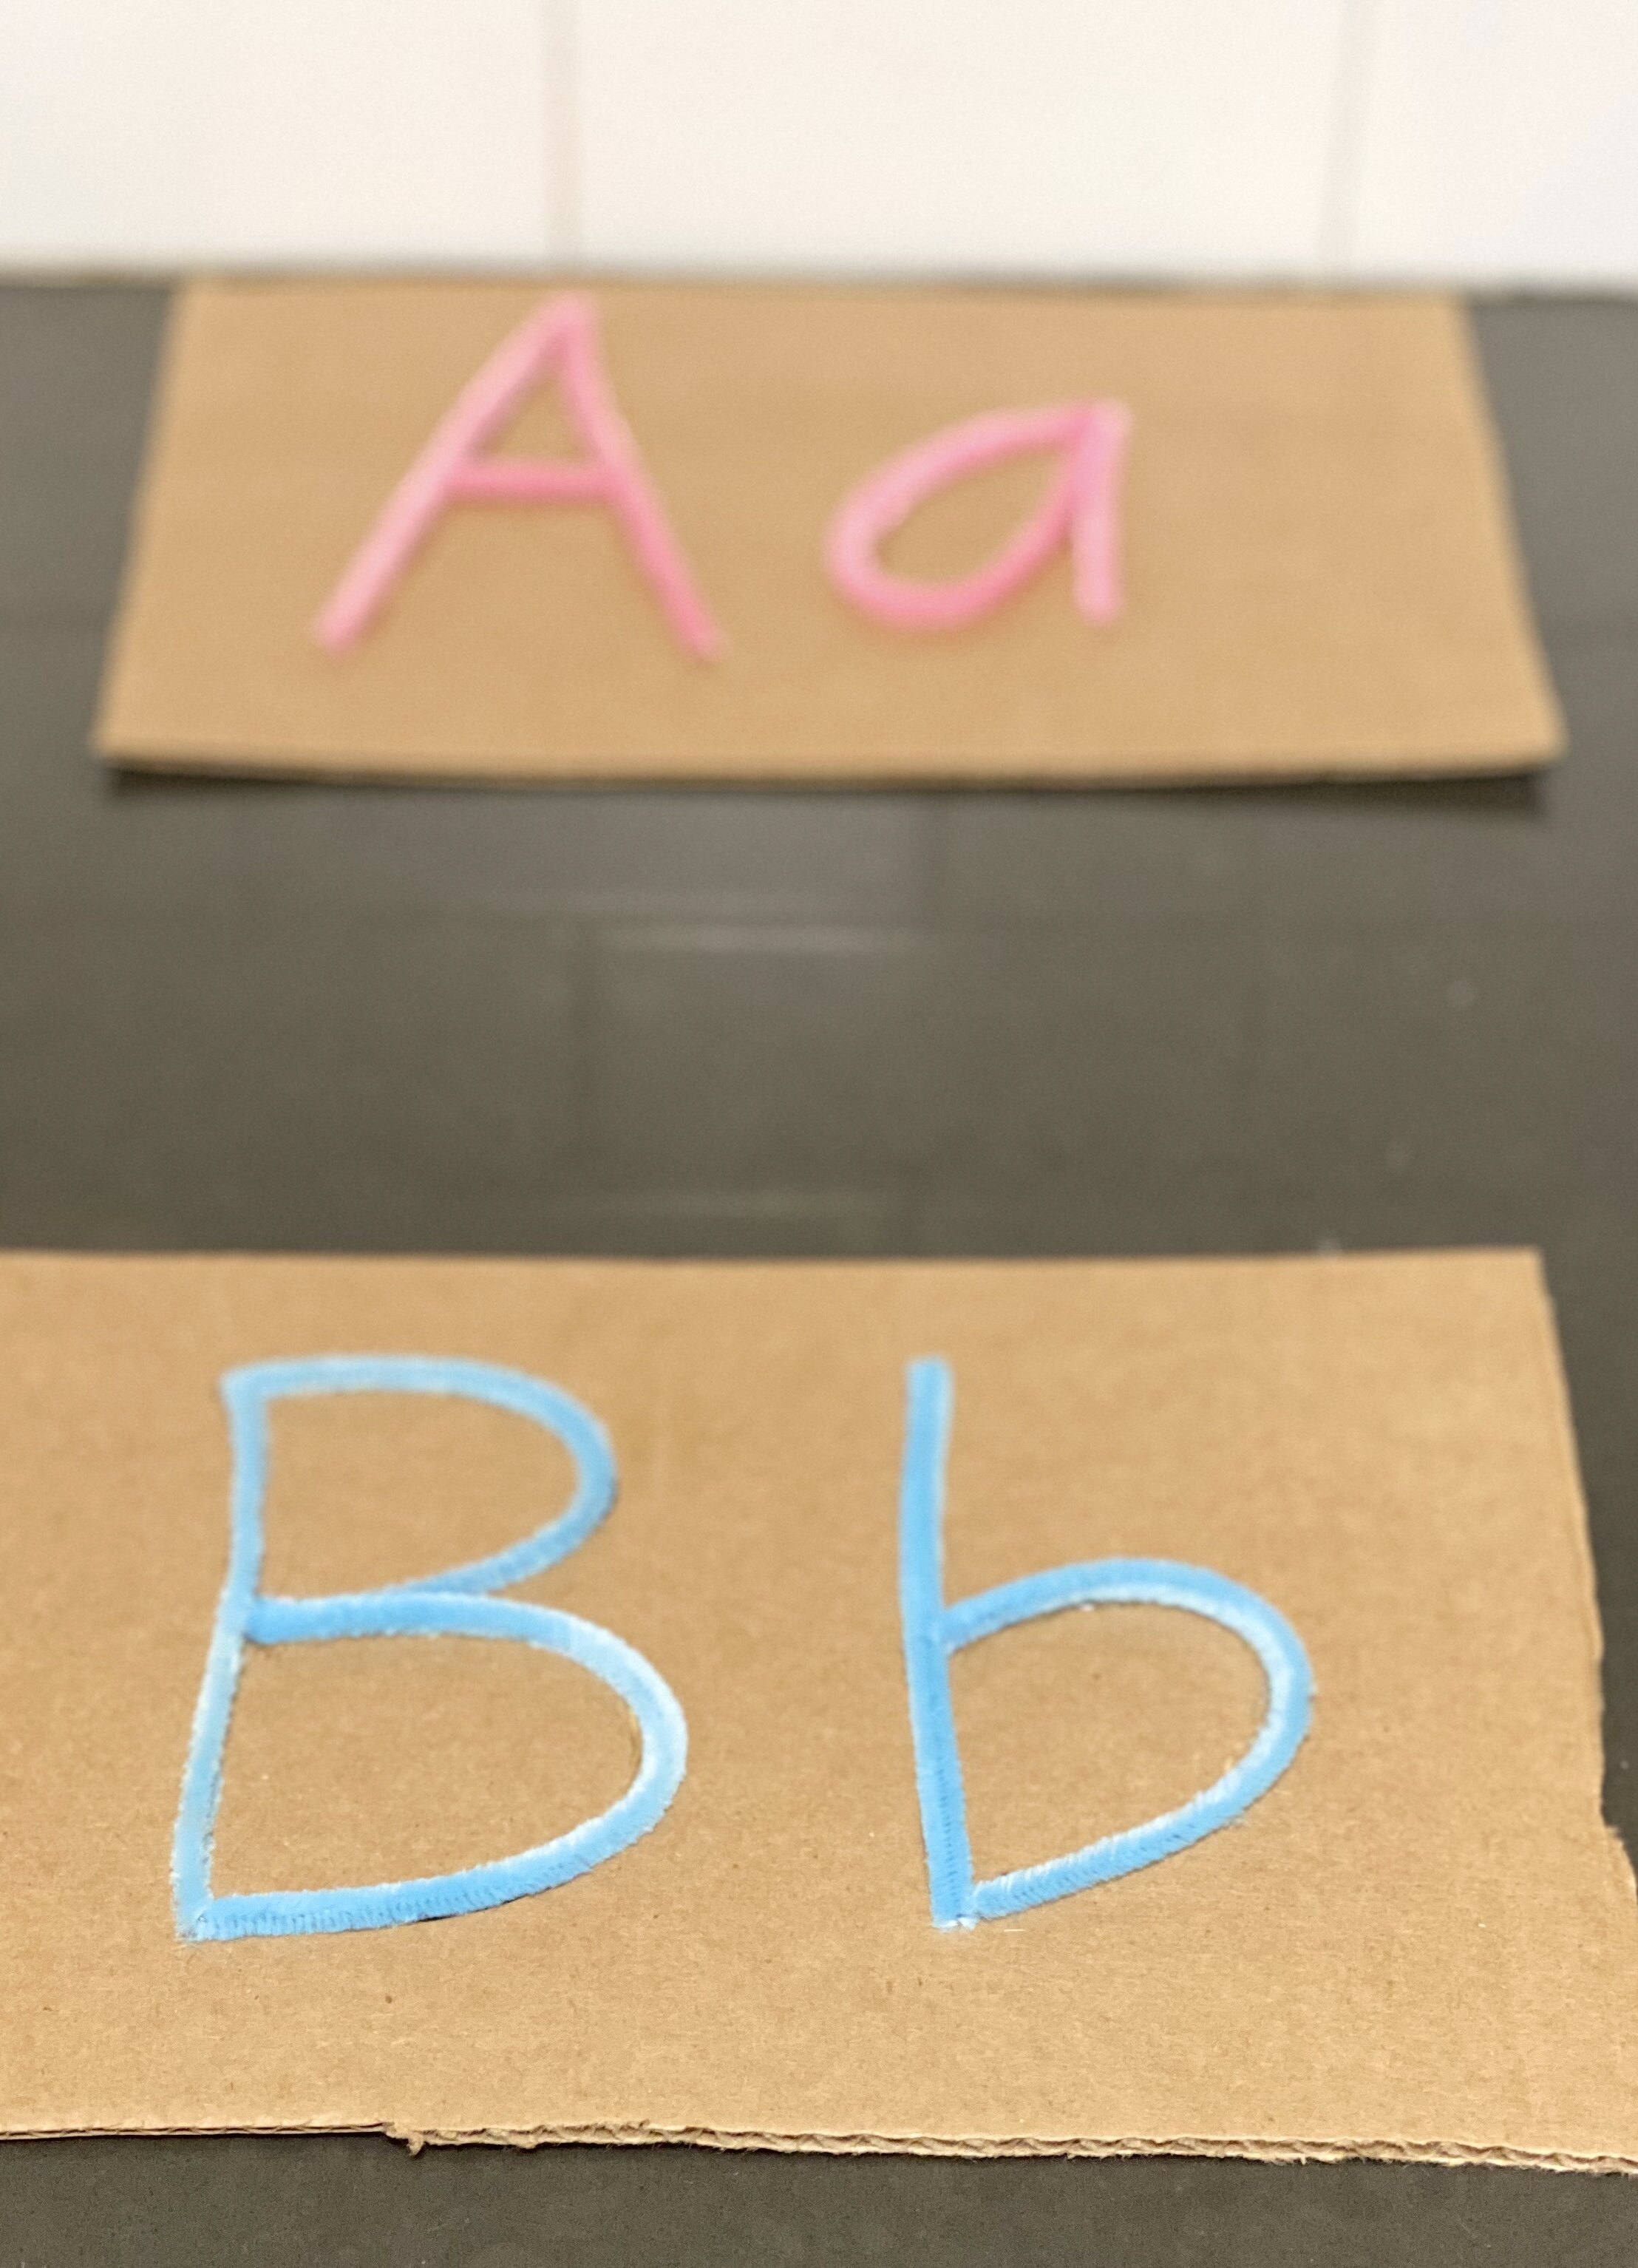
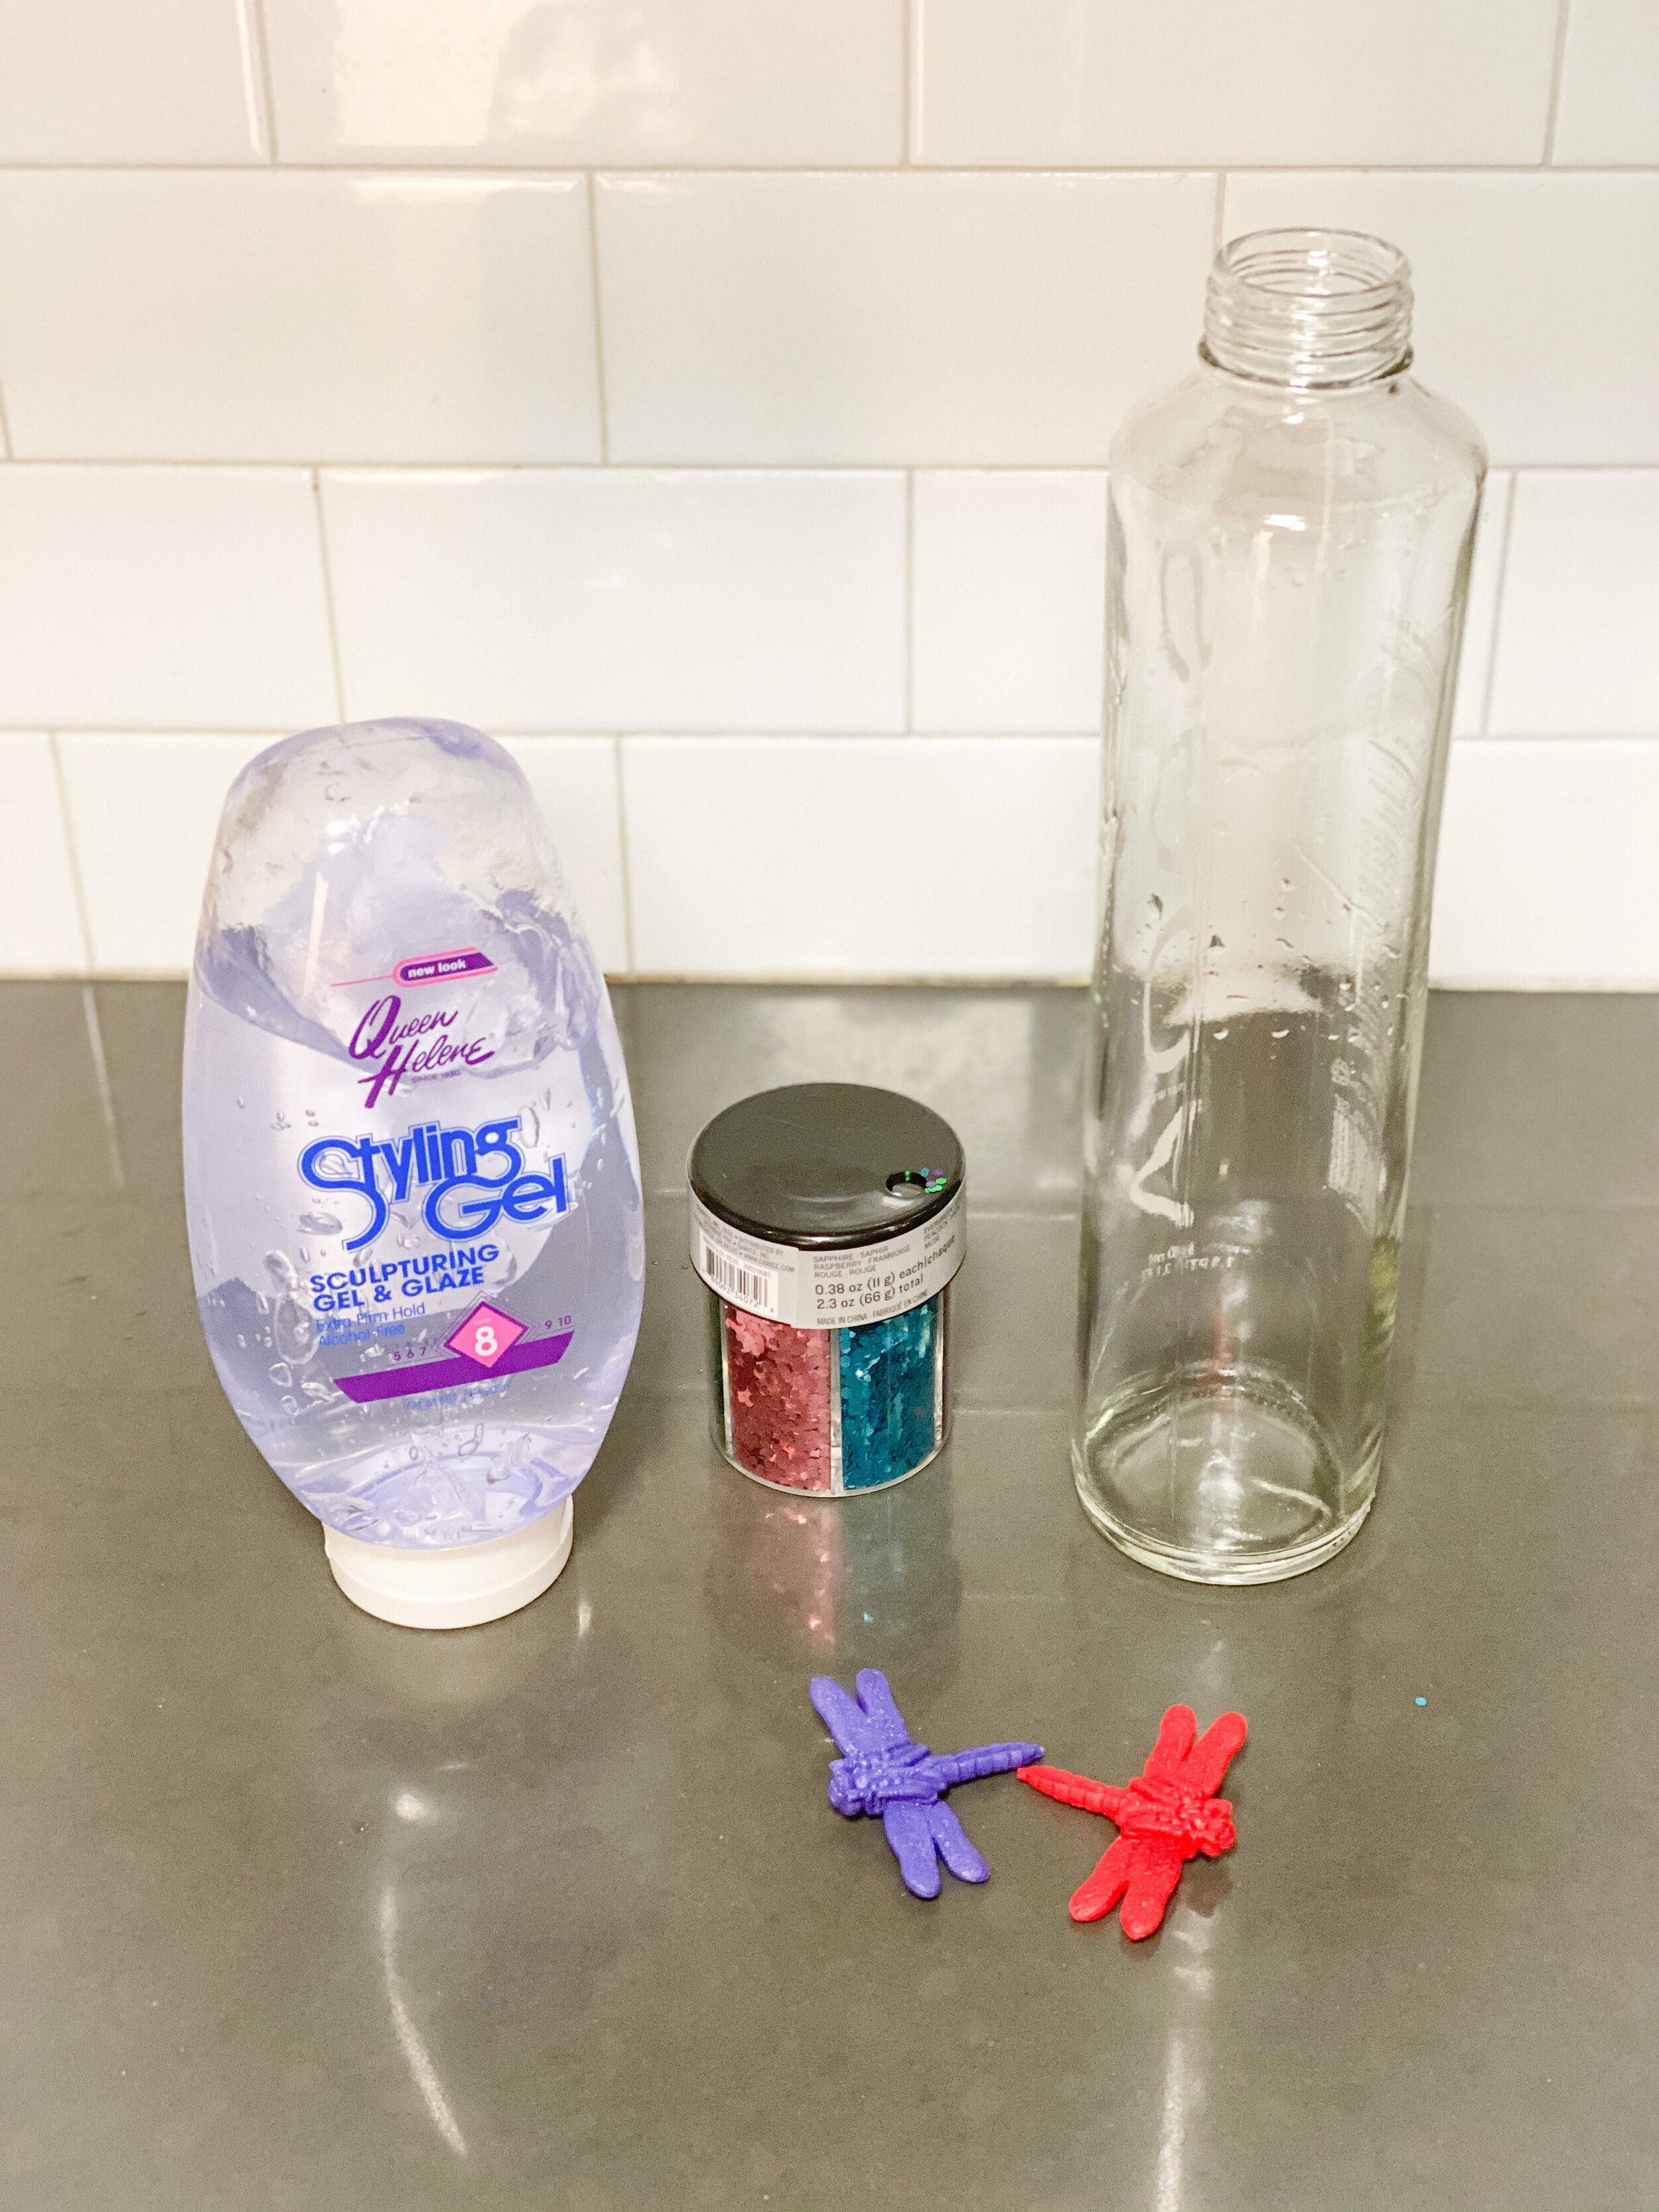
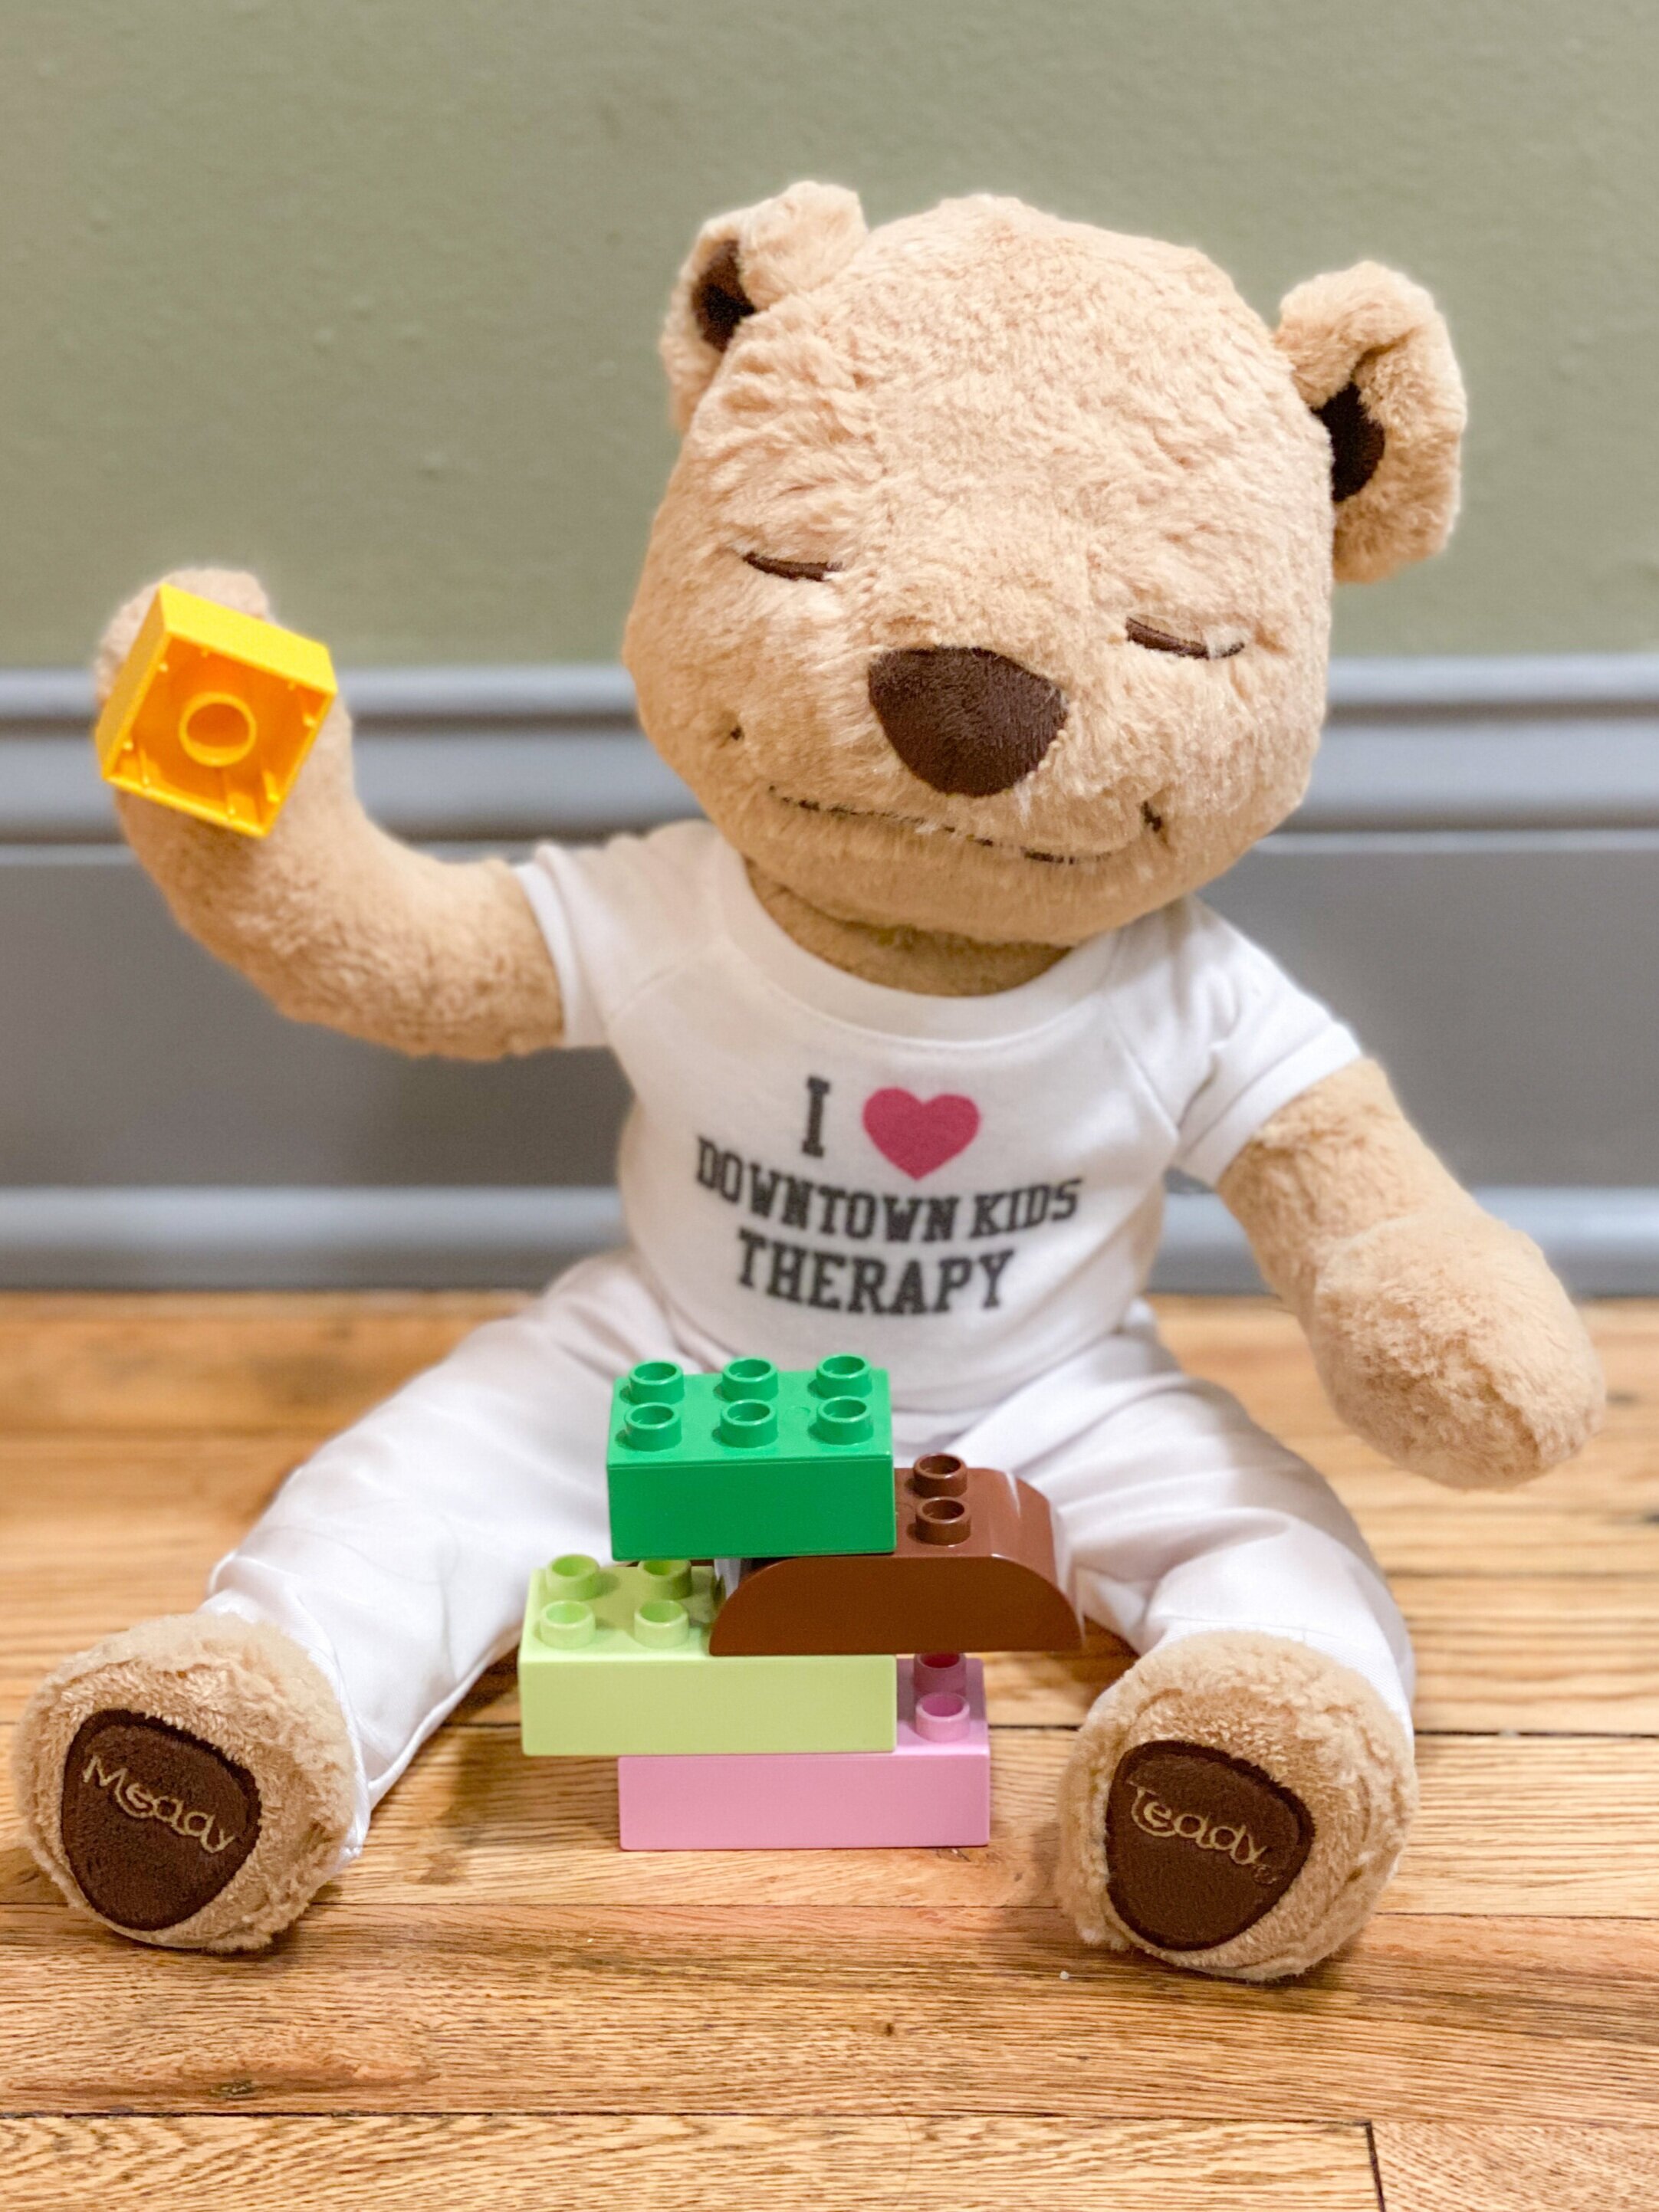
I found the Upseat most fun to use during the introduction of fun new sensory play activities when my daughter was still a bit of a wobbly sitter. This way her arms were free to explore the activity, while not having to focus too much on maintaining her posture. Here are some fun photos of her exploring!


I also found the Upseat to be the perfect travel chair to take for mealtimes. It is not the ideal 90/90 position we want with feet on the floor during meal time, but I found it lightweight and perfect for on the go! Plus the incline helped her maintain that nice upright posture you want for mealtimes even without feet on the floor, which I loved!

Upseat was kind enough to provide our readers with a 10% discount code, please click the button below or use our code DOWNTOWN10 at checkout. Happy sitting!

Halloween Garland Craft

Halloween is always full of fun craft ideas! Check out our free Halloween Garland Printable for a fun holiday themed craft that kids can use to decorate their space. This activity also has several hidden fine motor building skills such as coloring, cutting, hole punching, and threading!

Materials Needed:

  • Halloween Garland Printable (Click here to download)

  • Crayons/Markers of choice

  • Scissors

  • Hole Punch

  • Yarn/String of Choice

  • Scotch Tape


Step 1: Print Halloween Garland Printable for free! Then color in pictures using your choice of marker or crayon.


Step 2: Cut out each picture and punch out holes in the tops using a hole punch.

*Therapy Tip: Hole punching is a great way to increase grip strength, so have fun with this and maybe try some practice hole punching for some extra strengthening!


Step 3: Thread yarn through holes of pictures to create a garland. Have fun mixing and matching the order of your pictures!

*Therapy tip: to make threading easier wrap the end of the yarn in scotch tape.


Step 4: Using scotch tape hang your garland on a wall or door, and enjoy!! Happy Halloween!!

Candy Land Movement Game

Our therapists love incorporating games into therapy sessions. The kids enjoy it, and it just makes therapy more fun! While board games themselves offer many opportunities for learning, we often like to add a movement component to the game as well. Try out this fun candy land movement printable. We laminated ours so that we can easily use a dry erase marker to write in exercises by each color, or you can just print one and have the child help write in exercises if you are also targeting handwriting. Whatever color your game piece lands on, you must complete the assigned exercise. You can even have all game players join in on each exercise. The kids love it, and it puts a fun twist on exercise repetitions. Happy playing!!

candylandgame.JPG
candylandgame1.JPG
 
candylandexercise.jpg
 

Holiday Box Craft

This time of year we love incorporating holiday themed activities into fine motor work. See below for this fun popsicle stick box craft where you can choose to make either a Christmas tree or Hanukkah Menorah! Pushing the popsicle sticks into the corresponding slots is a great way for kids to work on fine motor strength and precision.

Materials Needed:

 
IMG_3857.jpg
 

Step 1: Tape your box closed using clear packing tape. We added yellow painters tape around sides for extra color, but this step is optional.

Step 2: Tape FREE Holiday Box Printable sheet of choice to the top of the box covering with clear painters tape.

Step 3: Using hot glue, glue a pom-pom to the top of each popsicle stick. To help with this we used the knife to make a small cut in the bottom of the pom-pom (but be careful not to cut too deep or the pom-pom will unravel).

 
IMG_3855.jpg
 

Step 4: Using knife cut small slit into picture and through the box in desired area (either on top of ornaments or where the candle flame will be).

IMG_3852.jpg
IMG_3850.jpg

Step 5: Have fun!! Work on putting popsicle sticks into slots to complete the picture. Such a fun way to challenge fine motor strength.

IMG_3851.jpg
IMG_3854.jpg

Pumpkin Gut Sensory Bag

This time of year there always seems to be tons of pumpkins around for carving, decor, or crafts! So why not use the pumpkin for a sensory activity?! This would be great to do along with pumpkin carving, or it is a fun stand alone activity.

Materials Needed:

  • Pumpkin

  • Knife

  • Halloween themed pieces of choice (we decided to go with witch fingers)

  • Ziplock Bag

Step 1: Cut the top of the pumpkin off using a knife. If carving this will be a small top cut, but if doing as a stand alone activity cut into more of a bowl shape with a large opening.

 
IMG_3457.jpg
 

Step 2: Look at all those amazing pumpkin guts!! Scoop them away from the sides, add your halloween toys, and mix together.

*Therapy tip: For a really gooey sensory experience you can have your child help mix the toys in using their hands, or have them try to find the items by digging in pumpkin bowl for the toys.

IMG_3458.JPG
IMG_3460.JPG

Step 3: For a less messy sensory experience, scoop all the contents into a large ziplock bag. Have your child work to find the hidden pieces or try to move the pieces into a line or make a shape. Have Fun!

*Therapy tip: This is a great way to work on isolation of the pointer finger! Try using the pointer finger to move the seeds, search for objects, or line objects up.

 
IMG_3471.JPG
 

Feed The Ghosts

We are huge fans of themed therapy activities for Halloween, and this ghost feeding one is so fun to get the kids involved in. This activity can help strengthen pincer grasp and finger isolation. You can also add clothes pins, tweezers, or tongs to pick up the pom-poms for grip strength. You even have the option to turn this into a color recognition game.

Materials Needed:

  • Box (We used a recycled amazon box), but a shoe box would also work

  • Ghost Printable (Click here to download for free)

  • Box Cutter

  • Scissors

  • Tape

  • Pom-Poms or Cotton Balls

  • Markers/Crayons (optional)

 
IMG_3443.JPG
 

Step 1: Print Halloween ghost printable for free! Using scissors cut out the mouths of all the ghosts.

 
IMG_3445.jpg
 

Step 2: Tape one side of box closed to make a flat top. You will want to leave bottom open so you are able to get pom-poms out. Place ghost paper on top of box and trace where the holes will be. Using box cutter, carefully cut holes into the box.

Step 3: Tape the ghost paper on top of the box so that the mouths line up with the holes. Have your child work to pick up pom-poms or cotton balls and feed the ghosts by pushing them into the box.

*Therapy tip: Try making the holes in the box a bit smaller than your pom-poms so that your child has to isolate their index finger to push it inside the box.

IMG_3446.JPG
IMG_3449.JPG

Step 4: As an optional extra step have your child color the ghosts to match pom-poms. Then they can practice feeding the ghosts matching colored food! So “Boo-tiful”

IMG_3450.JPG

Boo Bark Activity

Halloween is such a fun time of year, and we love combining our love of crafts with sweet treats during therapy! This year as many of our children continue to receive therapy virtually, our therapists have been getting creative with incorporating cooking into virtual sessions to take advantage of the home environment. Check out this fun “Boo Bark” activity that one of our OTs put together for a virtual session! Following step by step recipes is such a fun way for children increase independence with ADLs (activities of daily living) needed in the kitchen. We also love using following recipes as a tool to challenge task sequencing and problem solving skills. A great bonus about this activity is it can all be done using the microwave.

Materials Needed:

  • Semi-Sweet Chocolate (we used chocolate candy coating from Good & Gather for easy melting)

  • White Chocolate (we used vanilla candy coating from Good & Gather for easy melting)

  • Sprinkles and toppings of choice (we decided on Halloween themed sprinkles with mini-M&Ms)

  • 2 microwave safe bowls

  • Parchment paper

Step 1: Break white and semi-sweet chocolate into pieces and place in separate microwave safe bowls.

*Therapy tip: Have your child help with breaking the chocolate to work on strengthening hands.

 
IMG_0161.jpg
 

Step 2: Melt semi-sweet chocolate and white chocolate in microwave. We did 20 seconds at a time stirring in between to help ensure that the chocolate did not burn.

*Therapy tip: Let your child practice independence with this step. Pressing buttons on the microwave can be great practice for isolation of pointer finger, and works on number recognition. Keeping track of timing and stirring steps is a great way to challenge task sequencing and attention. We always love stirring in a bowl to challenge bilateral upper extremity coordination by using one hand to stir and one hand to stabilize the bowl (just make sure to check that the temperature of the bowl is not too hot).

 
IMG_0160.JPG
 

Step 3: Pour semi-sweet chocolate onto large piece of parchment paper. Spread chocolate out into a large rectangle shape.

*Therapy tip: Pouring is such an important everyday skill to learn. Pouring not only takes strength and bilateral upper extremity use to lift the bowl, but children also have to use hand/eye coordination and visual/spatial awareness in order to hit desired target. It is so important to let children practice pouring independently! If the bowl is too big for them at this point then try giving them a small cup so they can help scoop and pour.

 
IMG_0158.JPG
 

Step 4: Drizzle white chocolate across the top of your semi-sweet chocolate rectangle. For extra flare you can use a toothpick to make swirls mixing the white and semi-sweet chocolate together.

*Therapy tip: Swirling is an excellent chance to work on that pincer grip strength. For children who are unable to grip a toothpick try giving them a thicker object to swirl with like a straw or small spoon.

Step 5: Sprinkle desired toppings across top of chocolate. Let cool at room temperature until hardened. Break into pieces and enjoy!!

 
IMG_0159.jpg
 

Milk Experiment

We love incorporating hands on experiments with learning and fine motor development! This milk and food coloring experiment is always a big hit with kiddos, and can be used to target so many different goals.

Recently one of our OTs incorporated this activity into a session to challenge the child’s fine motor skills working on strength and stability with pouring, squeezing the food coloring dropper, and grasping the Q-tip. It is also a great activity to work on task sequencing, memory, and following directions. You can even try putting soap on fingers instead of Q-tips to get some sensory involvement as well.

Right now this experiment can have the added visualization of the importance of hand washing in relation to coronavirus. You can use the food coloring to represent germs and watch how the soap pushes the germs away. Plus, science experiments are always a fun way to spark natural curiosity!

Supplies Needed:

  • Small bowl or dish

  • Milk

  • Food Coloring

  • Dish Soap

  • Q-tips

    Step 1: Fill small bowl or dish with milk. For an extra fine motor challenge let your child fill the bowl by scooping milk in with a spoon, or using an eye dropper.

    Step 2: Add one drop of food coloring to the center of the milk, being careful not to mix.

 
IMG_0149.jpg
 

Step 3: Dip Q-tip into dish soap

Step 4: Dip soap coated Q-tip into the center of the food coloring and watch what happens!

IMG_3131.JPG
IMG_3127.JPG

Step 5: Repeat experiment in a different bowl with another color, or try adding more than one color at a time. For an extra challenge have your child try to remember the direction steps after the first trial to work on memory and task sequencing.

How does this work? Great question! Milk contains fat molecules, and the food coloring floats on top of the fat. The oil found in the dish soap breaks the bonds within the fat causing the molecules to separate, and moves the color away. Because of the roll fat plays in this experiment whole milk and 2% milk work best. Happy Experimenting!!!

Tactile Pipe Cleaner ABC trace

We love practicing handwriting and letter recognition skills with our kiddos during therapy. We also love a hands-on and sensory approach when it comes to learning, so these tactile tracing letters are perfect! Kids can practice tracing along the letters while receiving sensory feedback from the pipe cleaners. This extra input can help with learning, and the tracing is a great prep for writing skills.

Supples needed:

  • Cardboard

  • Scissors

  • Pipe Cleaners

  • Hot Glue

  • Marker

 
IMG_2026.JPG
 

Step 1: Cut cardboard into rectangles (the number you cut depends on the number of letter cards you are going to make). We recommend starting with the letters in your child’s name and then building from there.

Step 2: Using your marker, draw an uppercase and lowercase letter onto cardboard

 
IMG_2028.JPG
 

Step 3: Place pipe cleaners over drawn letters and cut down to the size needed.

Step 4: Cut pipe cleaners and glue down on top of your drawn letters.

IMG_2029.JPG
IMG_2033 2.jpg

Step 5: Using our ABC Tracing Packet as a guide, add numbers and arrows so your child can practice tracing using correct letter formation.

IMG_2651.JPG

Step 6: Have Fun!! Let your child explore the letters and get sensory/tactile feedback to help with learning. Practice saying the sounds along with each letter, or coming up with words that start with that letter.

Sensory Bottle Craft

We love sensory bottles!! They are so much fun, and can be a great tool TO target a variety of developmental goals. Here are some play ideas to use with your homemade sensory bottle:

  1. Practice Turn Taking: Sensory bottles are so fun to shake and look at up close. Use this as encouragement to help with turn taking between siblings, friends, or with parents/caregivers. We recommend using a timer at the beginning to make turn taking easier.

  2. Language Skills: Try using the sensory bottle to encourage language development. For younger kids this can be as simple as signing or verbalizing “more.” For older children sensory bottles are great tools to talk about what they see (color words, fast/slow, pretty, shinny).

  3. Science Skills: Making a sensory bottle can be a great early science experiment. When deciding what to put inside the bottle, have fun guessing which object will fall slowest and fastest. What a great opportunity to discuss weight and density! Get creative and put different items from around the house inside your bottle. You can also adjust the ratio of gel in the water to experiment with density, and how that effects the speed of the objects falling. Kids love learning through hands-on experiments!

  4. Math Skills: Create a counting sensory bottle with a different number of colored objects. Then practice counting how many of each color they see, or practice adding the colors together.

  5. Sensory/Motor Exploration: Practice shaking, rolling, and tipping the bottle in different directions to see the results. Kids can crawl after the bottle as is rolls across the floor, or try jumping while holding the bottle to see how that mixes the bottle up. What does it look like from upside down?! Get creative and add some movement to the fun

  6. Self-Regulation Skills: Sensory bottles can be a great addition to a calm down corner or space. They give kids something to focus on while decompressing. We like to encourage taking deep breaths and focusing on the bottle until the glitter settles. They can flip it over again if they need extra time to calm.

  7. Visual Scanning: Play a game of “I Spy” with your sensory bottle by adding a variety of small objects to the bottle. Then as they fall try to find the right object.

  8. Sensory Exploration: Sensory bottles are such a fun no-mess way to stimulate the sensory system. To add an extra element of fun, try shining a flashlight up through the bottom of the bottle to create a disc-ball effect on the walls!

How to make your own sensory bottle at home:

IMG_1994.JPG
IMG_1995.JPG
IMG_1997.JPG

Materials Needed: empty water bottle (we prefer VOSS brand), clear hair gel, glitter, object to let fall (small legos, plastic toy, beans, dry pasta), and super glue

Step 1: Fill empty bottle with glitter and falling objects. We filled the bottom of our bottle with 1 inch of glitter.

Step 2: Fill separate measuring cup with warm water, and add hair gel. We like to use 1 part hair gel to 8 parts water, but this ratio can change if you want objects to fall slower or faster. The more gel, the slower the objects will fall.

Step 3: Gently stir hair gel to mix with warm water until it dissolves. Then let the water cool to room temperature.

Step 4: Pour the water/gel mixture ALL THE WAY TO THE TOP of the bottle. You want as little air as possible in the bottle to keep glitter from getting stuck at the top.

Step 5: Test it out! If you are happy with the results superglue the lid on to prevent any spills.

Step 6: HAVE FUN!!

IMG_2193.jpg
 
IMG_2192.jpg

Toy Protest-Starting The Conversation

Right now our children are surrounded by news stories and conversations about race and racism. For many of our children they are watching protests happen right outside their own doors and windows. It is important to start the conversation about race and racism so that they understand what is going on in the world around them. By starting these conversations young, we can teach children to embrace their differences, be empathetic, and speak out against injustice. These conversations can be overwhelming to think about starting, but are necessary to have. Here are some resources we have found helpful about starting the conversation:

  1. Books can be an amazing tool to open up the conversation about race. We love the site “Here Wee Read,” which provides wonderful recommendations for diverse children’s books. Check out their “Let’s Talk About Race Book Recommendations.” Also, please take a look at all her book recommendations, as they are diverse and wonderful additions to your child’s home library!

  2. Article 20 Network has put together a great guide for parents on talking to children about protests. We love that they discuss using examples that children can relate to. Check out their downloadable “Talking to Kids About Protest (Ages 6 and Under)” guide.

  3. The Child Mind Institute also released a great article on how to discuss the news with children, which is full of additional resource recommendations. Check out their article “Racism and Violence: How to Help Kids Handle the News.”

When having these conversations children might find it helpful to draw, paint, or act out stories with toys to help them express their emotions. Some children might even express interest in wanting to join protests themselves or as a family, which is great! With COVID-19 still in our area, we understand that physically joining may not always be an option. We love the idea of staging a toy protest to help express their feelings at home! Use recycled cardboard or paper to make signs to express their feelings, and have them set up their favorite stuffed animals or dolls to form a protest of their own. What a great opportunity to act out a peaceful protest at home and learn to stand up for what is right!

IMG_1912.JPG

Box Toss Game

 
IMG_1729.jpg
 

One thing we have learned as pediatric therapists….NEVER throw out a box without first considering what you could use it for! This fact has become even more important during social distancing. One of our favorite ways to put a box to use for at home therapy, is using it for target practice to challenge those hand/eye coordination skills.

Boxes can easily be used for target practice, by simply opening up the top to throw bean bags, stuffed animals, or even rolled up socks into. You can also increase the challenge like we did, and cut holes in the box to make a smaller and more challenging target to hit. We even decided to color coordinate our targets to match the bean bags, and add points based on distance for extra fun!

Step 1: Tape the box closed and trace circles where you want the targets to be. We used a small plate to help get a symmetrical circle, although we do regret the use of a sharpie as that took a little rubbing alcohol to get off the plate (I would definitely go with a pencil instead).

Step 2: Use a knife, box cutter, or scissors to carefully cut along the traced lines to create holes.

IMG_1688.jpg
IMG_1716.jpg

Step 3: Decorate as desired! We went with a quick painter’s tape outline for the colored targets, but feel free to get creative and break out all of the craft supplies. Decorating the box with your child can be another fun activity before the target practice even begins!

Step 4: Play!! Have your child stand away from the box, and practice throwing objects into the targets. You can easily adjust this as needed based on current age and skill level. For beginners start super close, and back away as they improve their aim.

 
IMG_1723.JPG
 

Step 5: Don’t forget to up the challenge! We love adding an uneven surface to stand on (like a pillow or couch cushion). This will increase difficulty by challenging the child’s balance reactions. To make this even more of a strength challenge, have the child squat to pick up the items to activate those lower extremity, hip, and core muscles. For beginners have them squat and get the items directly from the pillow, then lower objects to the floor as the child become more stable.

 
IMG_1732.JPG
 
Beginner Squat

Beginner Squat

Advanced Squat- Requires further reach

Advanced Squat- Requires further reach

Such a fun way to recycle a box while working on hand/eye coordination, balance, and strength. For older children, you can even have them help with creating and keeping a scoreboard. This can sneak in some handwriting and math practice! Happy throwing!!

Lego Building Match

IMG_1789.jpg

There are several reasons that we love incorporating building with blocks into therapy, classroom, and home routines. Block play is such an important foundation of early childhood learning, and can target so many developmental goals. Plus, who doesn’t love to knock over the tower when you are done building….classic fun times!

Here are some of the many benefits of block play:

  • Strengthens motor skills and hand/eye coordination

  • Strengthens fine motor manipulation skills

  • Strengthens pincer grasp

  • Builds graded precision of movements

  • Builds spatial reasoning

  • Helps children learn to balance objects in space

  • Helps with motor planning skills

  • Encourages imaginative play

  • Foundation for early mathematical concepts (size, shape, counting)

  • Provides a means for appropriate destructive play (great outlet for those sensory seekers)

  • Encourages teamwork

  • Builds problem solving skills

  • Strengthens visual perceptual skills

  • Introduces the concept of gravity

  • Encourages speech production

  • Can be used to help with following directions

Honestly, we could go on and on about blocks….they are the coolest! While we think open-ended free play with blocks is AMAZING, we also love to incorporate structured block play into our therapy sessions. One of our favorite activities is to build a tower, and have the child build a matching tower. We often start small with only 2 blocks at a time, and work up to more complicated towers. We also love giving the child a turn to build a tower that we have to copy to make it even more fun. This is a great game to incorporate into home learning routines! Our amazing Occupational Therapy Team put together a fun free printable based on matching block towers. The great thing about this is it is also a coloring page, so if you don’t have blocks available at home right now kids can also work on matching the correct colors. Click here for the FREE block worksheet, and happy building!!

IMG_1798.jpg
LEGO-BUILDING-PRINTABLE-PIN.jpg

Scavenger Hunt

While we are all spending most of our time at home lately, that does not mean that daily outside walks are canceled! We put together this fun outdoor scavenger hunt activity to take with you on your next family walk (while practicing social distancing of course).

Spotted the fire hydrant!

Spotted the fire hydrant!

Taking a marker along is a fun way to sneak in some fine motor practice as well. He rocked his check marks!

Taking a marker along is a fun way to sneak in some fine motor practice as well. He rocked his check marks!

The great thing about scavenger hunts, is they really get kids to pay attention to the details of their environment. Searching for the items on the list is a great way to challenge visual scanning and boost their observational skills. Don’t forget to take a marker along so they can check off their finds as you go! This can also be a fun activity to incorporate with speech goals. As you walk work on pointing towards objects, identifying them, practice making their noises, or talk about colors. This activity is so great to tailor to your child’s current speech level. For an extra challenge celebrate each find with an exercise (try jumping jacks, frog jumps, or marching in place). Such a fun way to take advantage of movement time outdoors, while encouraging learning and talking in a relaxed and natural environment. To make searching even more exciting check out our post on how to make binoculars out of recycled toilet paper rolls, this will help kids get excited about searching!

If outdoor walks are not available to your family at the moment, we also created an indoor scavenger hunt option for you. You can still work on all these skills indoors or while looking out the window! Happy searching!! Click here for our scavenger hunt pages.

So proud of all of his finds today! The bunny might take a few walks to find, but we will be keeping our eyes out.

So proud of all of his finds today! The bunny might take a few walks to find, but we will be keeping our eyes out.

Binocular Craft

We love this fun binocular craft idea using recycled toilet paper rolls! Kids can work on their fine motor skills decorating and building the binoculars, and then can use them for visual scanning activities after they are done.

This craft is pretty simple, and has two different building/decorating options:

Option 1: Paint the rolls and glue them together (we suggest hot glue)

Option 2: Tape the rolls together using painters tape

Supplies needed for craft: 2 toilet paper rolls, bandana or string to use as neck strap, paint (if using option 1), glue (if using option 1), tape (if using option 2), and something to poke a hole in the side of the rolls (we used a hole punch, but …

Supplies needed for craft: 2 toilet paper rolls, bandana or string to use as neck strap, paint (if using option 1), glue (if using option 1), tape (if using option 2), and something to poke a hole in the side of the rolls (we used a hole punch, but a pen would work as well)

Start by choosing which option you have the materials for at home.

Option 1 Paint:

  • Step 1: Paint the toilet paper rolls, and let dry. You can do basic colors like us, or add designs.

  • Step 2: Glue rolls together and let dry

  • Step 3: Punch holes in both sides.

  • Step 4: Tie bandana or string through the holes to make neck strap.

  • Step 5: Happy searching!!

Option 2 Tape:

  • Step 1: Wrap tape around 2 rolls to hold them together. You can use colors to make stripes like we did, or do all one color. To add extra decor try using stickers.

  • Step 2: Punch holes in both sides.

  • Step 3: Tie bandana or string through the holes to make neck strap.

  • Step 4: Happy searching!!

IMG_1744.jpg
IMG_1774.jpg

When attaching the neck strap make sure you thread it in first, and then tie the knot on the outside of the roll so that it does not obstruct the view through the binoculars.

Next, enjoy the final product! Check out our scavenger hunt post for a fun outdoor visual scanning activity to put these binoculars to work. You can also practice bird/people watching through the windows, or finding objects inside the house. Try finding different shapes and colors, or playing a game of “I spy with my little eye.”

IMG_1750.jpg
IMG_1759.jpg
IMG_1747.jpg

Introducing DKT Blog

Bear+with+computer.jpg

During this COVID-19 closure, we have really been missing seeing all of our kiddos and connecting with families in person. While we love our virtual sessions, we thought that starting a small blog might be another way to keep in touch during this time. Meddy Teddy has been hard at work thinking up some ideas for at home therapy fun! Stay tuned for more!