We love sensory bottles!! They are so much fun, and can be a great tool TO target a variety of developmental goals. Here are some play ideas to use with your homemade sensory bottle:
Practice Turn Taking: Sensory bottles are so fun to shake and look at up close. Use this as encouragement to help with turn taking between siblings, friends, or with parents/caregivers. We recommend using a timer at the beginning to make turn taking easier.
Language Skills: Try using the sensory bottle to encourage language development. For younger kids this can be as simple as signing or verbalizing “more.” For older children sensory bottles are great tools to talk about what they see (color words, fast/slow, pretty, shinny).
Science Skills: Making a sensory bottle can be a great early science experiment. When deciding what to put inside the bottle, have fun guessing which object will fall slowest and fastest. What a great opportunity to discuss weight and density! Get creative and put different items from around the house inside your bottle. You can also adjust the ratio of gel in the water to experiment with density, and how that effects the speed of the objects falling. Kids love learning through hands-on experiments!
Math Skills: Create a counting sensory bottle with a different number of colored objects. Then practice counting how many of each color they see, or practice adding the colors together.
Sensory/Motor Exploration: Practice shaking, rolling, and tipping the bottle in different directions to see the results. Kids can crawl after the bottle as is rolls across the floor, or try jumping while holding the bottle to see how that mixes the bottle up. What does it look like from upside down?! Get creative and add some movement to the fun
Self-Regulation Skills: Sensory bottles can be a great addition to a calm down corner or space. They give kids something to focus on while decompressing. We like to encourage taking deep breaths and focusing on the bottle until the glitter settles. They can flip it over again if they need extra time to calm.
Visual Scanning: Play a game of “I Spy” with your sensory bottle by adding a variety of small objects to the bottle. Then as they fall try to find the right object.
Sensory Exploration: Sensory bottles are such a fun no-mess way to stimulate the sensory system. To add an extra element of fun, try shining a flashlight up through the bottom of the bottle to create a disc-ball effect on the walls!
How to make your own sensory bottle at home:
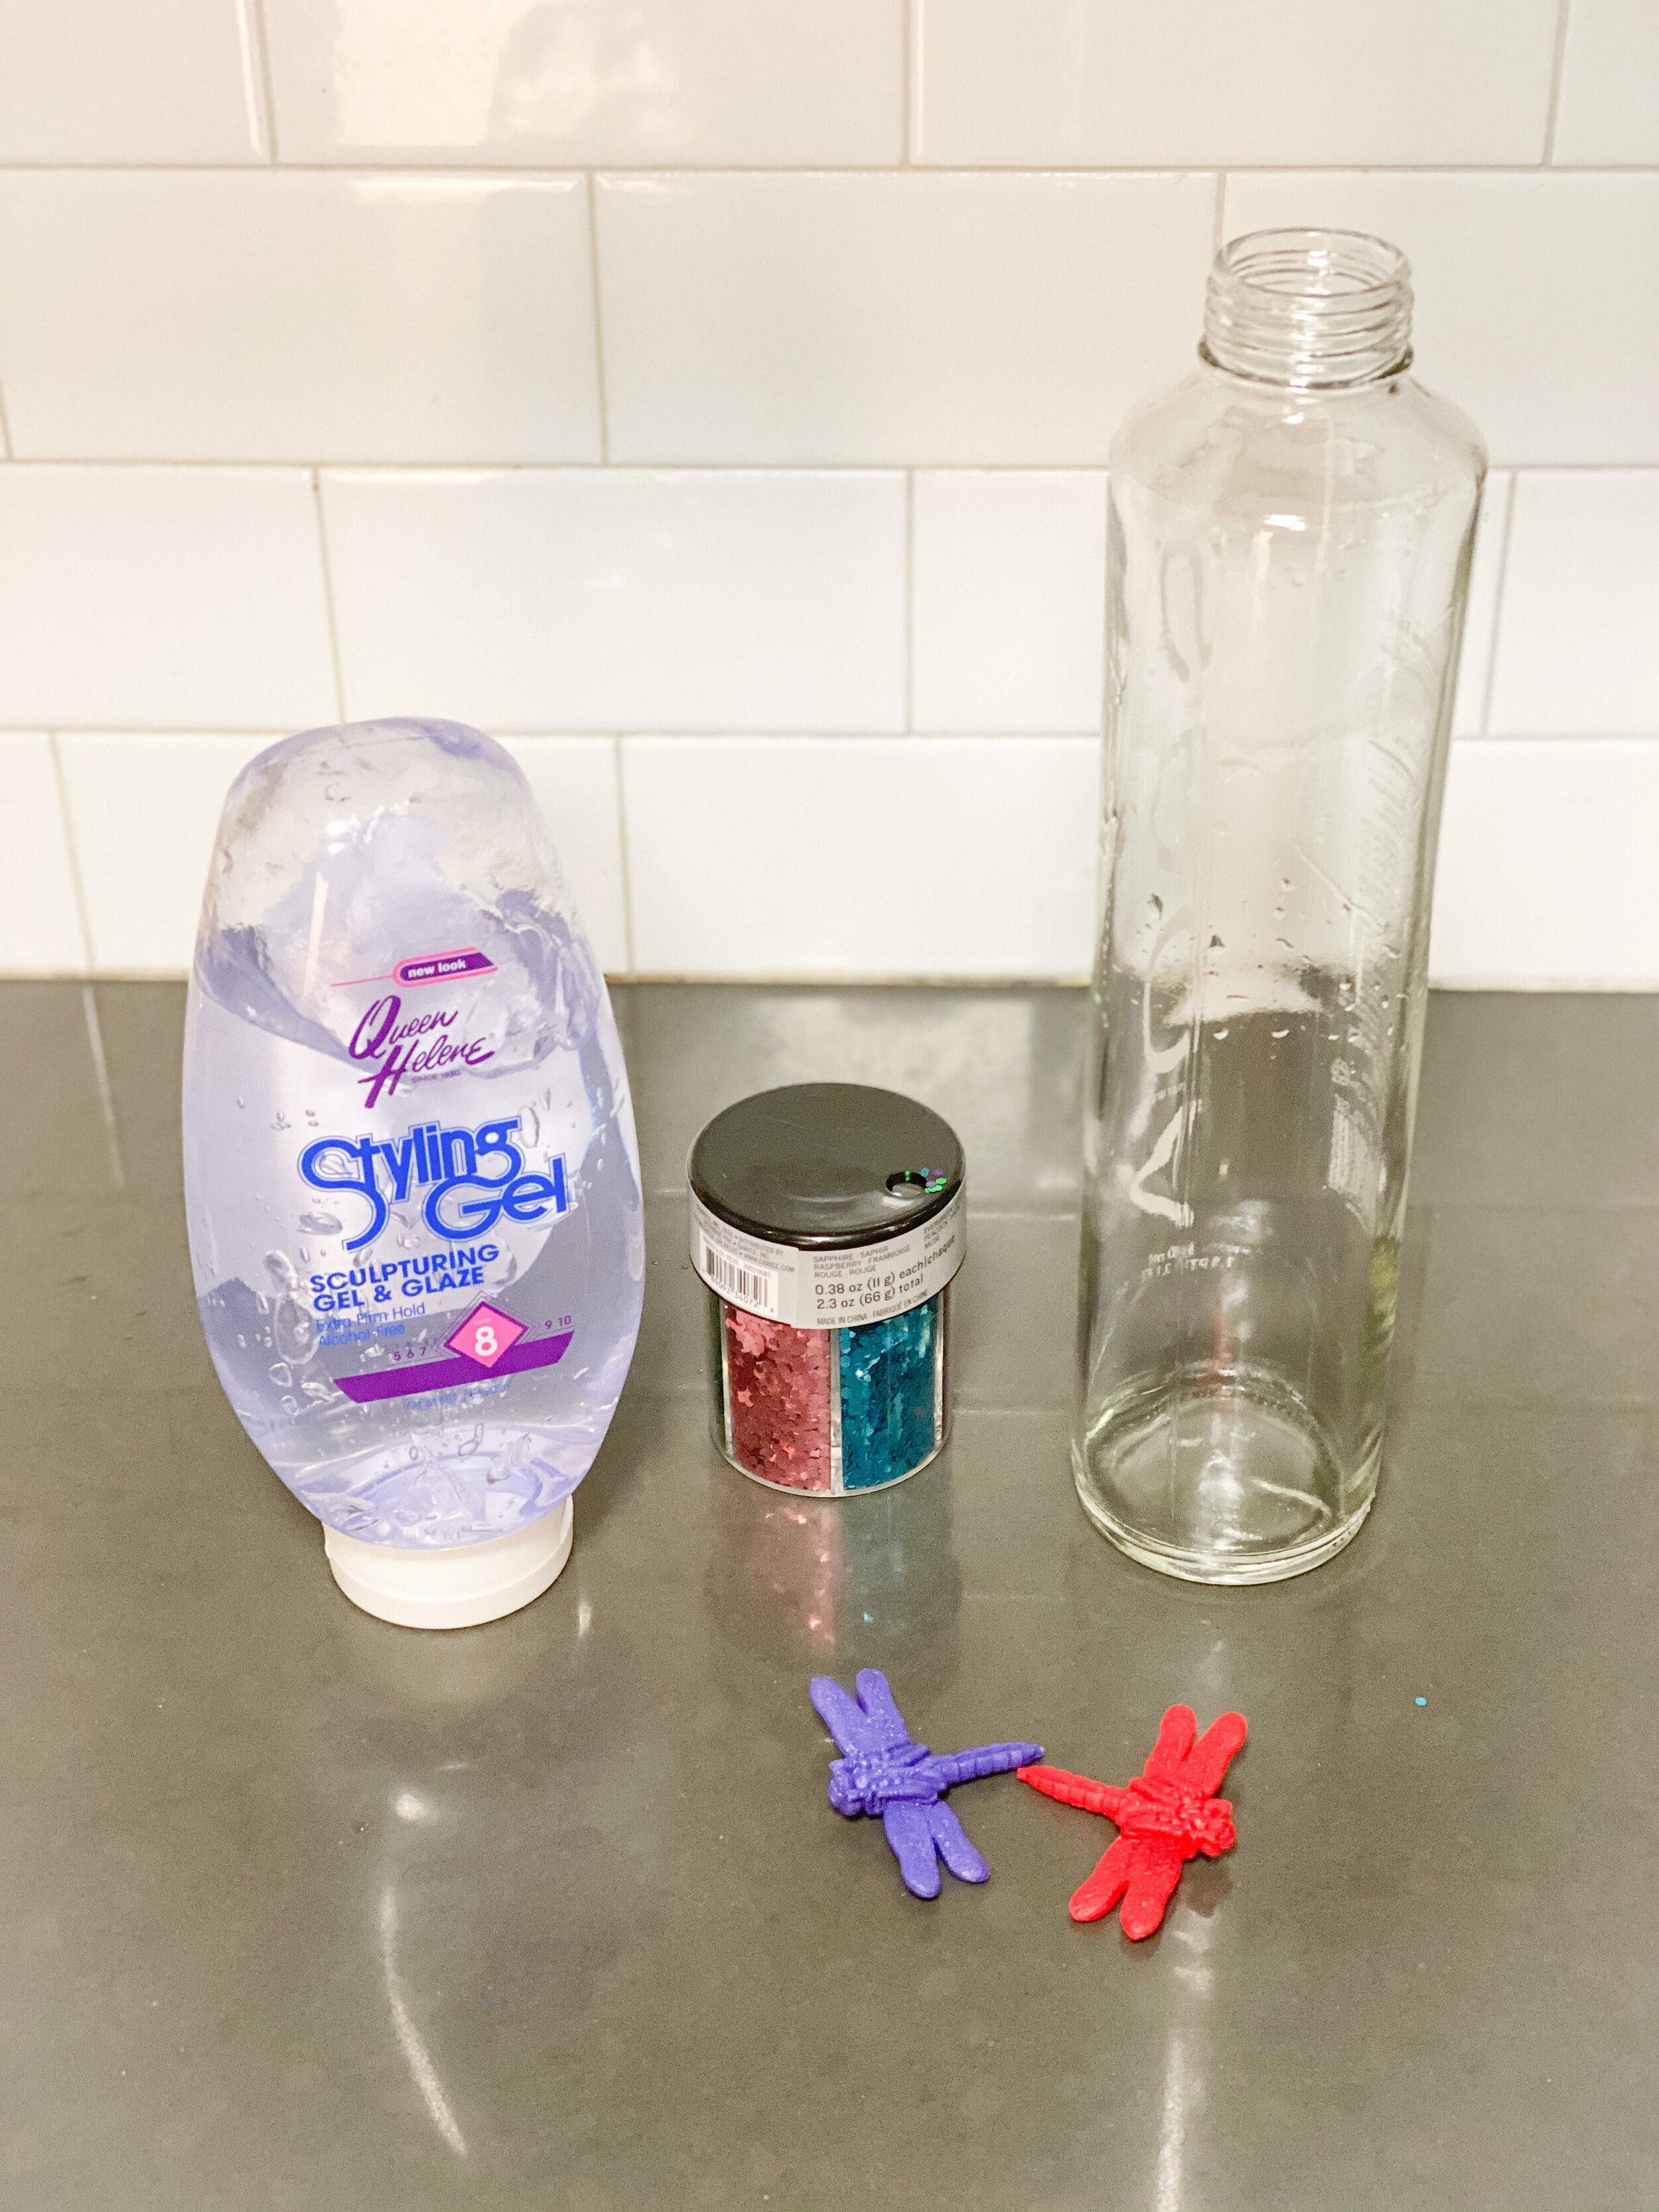


Materials Needed: empty water bottle (we prefer VOSS brand), clear hair gel, glitter, object to let fall (small legos, plastic toy, beans, dry pasta), and super glue
Step 1: Fill empty bottle with glitter and falling objects. We filled the bottom of our bottle with 1 inch of glitter.
Step 2: Fill separate measuring cup with warm water, and add hair gel. We like to use 1 part hair gel to 8 parts water, but this ratio can change if you want objects to fall slower or faster. The more gel, the slower the objects will fall.
Step 3: Gently stir hair gel to mix with warm water until it dissolves. Then let the water cool to room temperature.
Step 4: Pour the water/gel mixture ALL THE WAY TO THE TOP of the bottle. You want as little air as possible in the bottle to keep glitter from getting stuck at the top.
Step 5: Test it out! If you are happy with the results superglue the lid on to prevent any spills.
Step 6: HAVE FUN!!